What is a TikTok Pixel?
TikTok Pixel is a tracking pixel code on your website to track conversion events. It also helps advertisers track user behavior on their website after clicking on a TikTok ad.
It is similar to the tracking pixels used by other social media platforms, such as Facebook Pixel .With the Pixel installed, you can track everything from page views to purchases, allowing you to understand your audience better and tailor your TikTok ads accordingly.
If you want to make a splash on TikTok and maximize its potential as an advertising platform, you need to jump on the pixel bandwagon.
But setting up the TikTok Pixel can be a head-scratcher, especially if you’re new to digital marketing.
That’s why we’ve created this comprehensive guide that walks you through everything you need to learn about the TikTok Pixel – what it is, how it works, and step-by-step instructions on how to set it up.
Whether you’re a seasoned digital marketer or new to TikTok advertising, this guide will provide the details and tools you need to set up TikTok pixel on your website. And you’ll be ready to start measuring your conversions in no time!
Also Read: How to Build a TikTok Marketing Strategy for Your Business?
Why use a TikTok tracking pixel? What is the TikTok Pixel used for?
Well, there are several reasons.
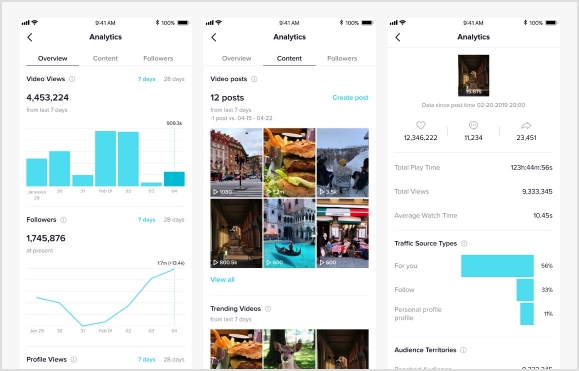
- First and foremost, TikTok Pixel helps you with TikTok analytics and measures the effectiveness of your ad campaigns. Let’s say you’re running a TikTok ad campaign to promote a new product on your website. By using it, you can see how many people have clicked on your ad, visited your website, and how many of them made a purchase. This information can help you determine the ROI of your ad campaign and whether it’s worth continuing to invest in.
- Secondly, it allows you to optimize your ad campaigns. Using the data collected by it, you can identify which ads are performing well and which ones aren’t. For example, if you see users spending more time on a particular page of your website after clicking on an ad, you can use that information to create more ads that drive users to that page.
- Finally, it enables you to retarget users. Let’s say someone visits your website after clicking on a TikTok ad, but needs to make a purchase. With TikTok Pixel, you can retarget that user with a follow-up ad tailored to their interests. For example, you could show them an ad for the product they were looking at on your website.
Benefits of using TikTok Pixel
Here are some of the fantastic benefits that TikTok Pixel offers to advertisers.
Track Conversions
It allows you to track user actions on your websites or apps, such as purchases, form submissions, and downloads. This data can be used to measure your advertising campaigns’ effectiveness and identify improvement opportunities.
For example, a hotel chain can use TikTok Pixel to track bookings made by users who clicked on their ads, helping them to calculate the return on their ad spend.
Create Custom audiences
With TikTok’s Pixel, you can create custom audiences based on user behavior on your website or app. This allows you to target users who have already shown an interest in your product or service and are more likely to convert.
For example, a skincare brand can create a custom audience of users who have visited their website in the past 30 days but have yet to purchase it. They can then display ads to this audience on TikTok, promoting a special offer to incentivize them to buy.
Optimize campaigns
It allows you to optimize your campaigns for specific objectives, such as conversions or clicks. This means the platform will automatically adjust your campaign settings to deliver the best results based on your chosen goal.
For example, if you’re running a campaign to drive website traffic, you can optimize your TikTok ad delivery to show your ads to users who are likely to click through to your site.
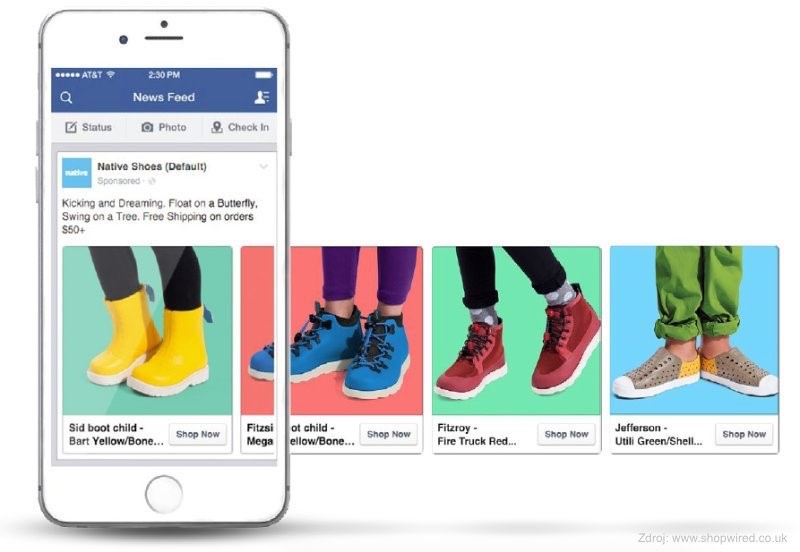
Enhanced ad retargeting
It also enables you to retarget visitors who have interacted with your brand in the past, such as users who have visited your website or engaged with your TikTok ads. This helps to keep your brand top of mind and can increase the likelihood of conversion.
Let’s take Retargeting ad examples of a clothing brand that uses TikTok Pixel to track the pages a user visits on their website and use this information to display ads for specific products to that user on TikTok.
Attribution modeling
It allows you to attribute conversions and other user actions to specific advertising campaigns, ad groups, or even individual ads. This helps you to understand which of your campaigns are driving the best results and make data-driven decisions about where to invest your ad budget.
How does TikTok Pixel work?
TikTok Pixel works by placing a small code on your website or app. This code is a snippet of JavaScript that will run on every page of the website where it’s installed.
Once the Pixel is installed, it will start collecting data about user behavior, such as page views, sign-ups, and purchases. This data is then sent back to TikTok, where you can access it through your TikTok Ads Manager to gain insights into the TikTok analytics and ad campaign’s performance and optimize it for better results.
How to set up your TikTok Pixel?
Setting up your Pixel is relatively simple. Here’s the step-by-step process on how to do it.
Step 1: Create a TikTok Ads account
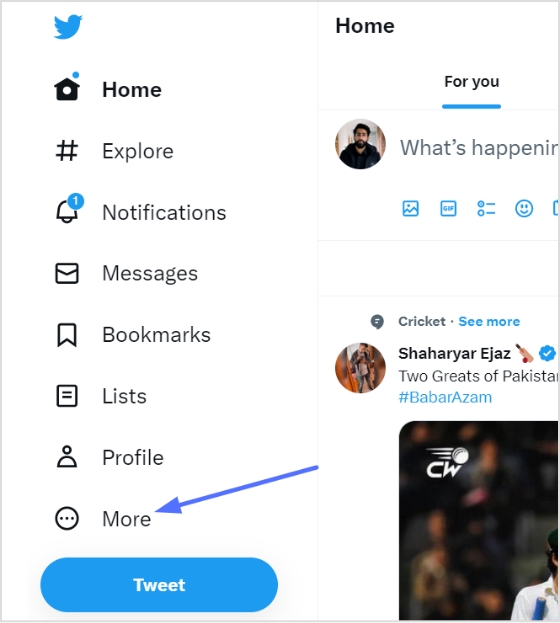
Go to the TikTok business homepage and click “Create now” to create your account.

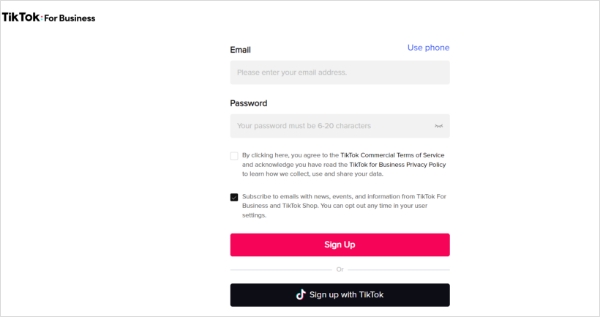
Step 2: Sign up
Sign up with your email address, phone number, or TikTok account.
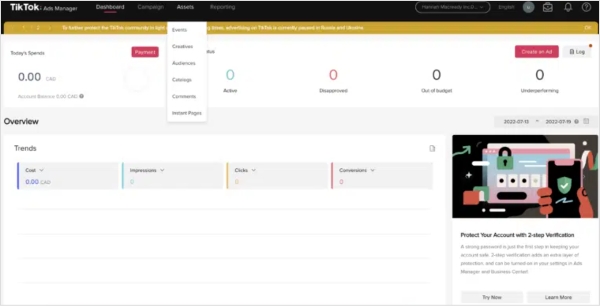
Step 3: Set up your Pixel
After logging in to your account, click Event under “Assets” in TikTok Ads Manager. Then choose Web Events.
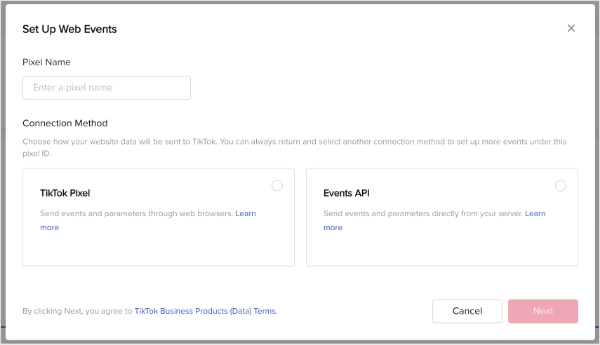
Step 4: Name your Pixel
Give a name to your Pixel that will help you remember its purpose. For instance, if you’re using it to track conversions on your website, you can name it “Conversion Pixel”.
The maximum character length for a Pixel name is 128 characters, including spaces.
After naming, select TikTok Pixel as your connection method.
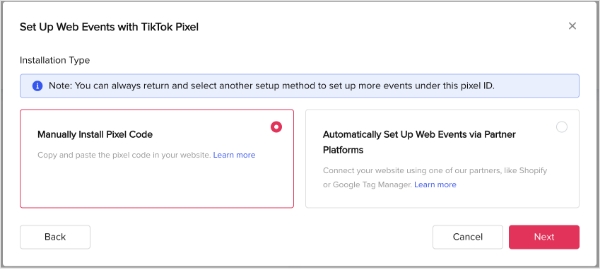
Step 5: Add the Pixel to your website
To add the Pixel to your website, you can either manually install the TikTok Pixel code on your website or use a tag manager like Google Tag Manager to add the Pixel.
Step 6: Test your Pixel
After adding the Pixel to your website, test it to ensure it works correctly. You can do this using the TikTok Pixel Helper, a Chrome extension that helps verify your Pixel.
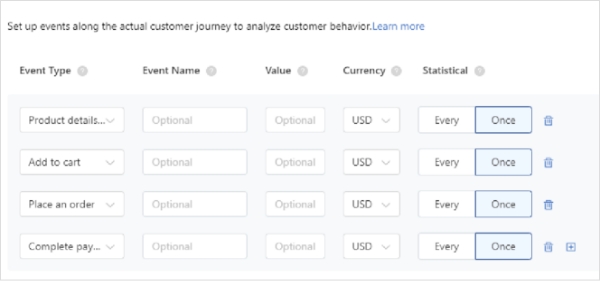
Step 7: Set up your events
Once you’ve verified that your Pixel is working correctly, you must set up the events you want to track. TikTok Pixel supports a range of standard and custom events you can follow on your website.
Step 6: Verify and publish your Pixel
After setting up your events, you should verify your Pixel to ensure it tracks events correctly. Once you’ve verified your Pixel, you can publish it and start tracking data.
And that’s it! Your TikTok Pixel is now set up, and you can start tracking conversions and optimizing your TikTok Ads for better performance.
How to install TikTok Pixel?
To install the Pixel on your website, add the pixel code to your website’s header section. This code is provided to you when you create your Pixel in TikTok Ads Manager.
Here’s the step-by-step process to install the Pixel:
Step 1: Go to your TikTok Ads Manager account and click “Assets” in the left-hand menu.
Step 2: Click “Pixels” and “View Pixel.”
Step 3: Copy the pixel code that’s provided. Or you can download it as well by clicking on ‘Download Pixel Code.’
Your pixel base code will look like this:
Step 4: Add the pixel code to the header section of your website. Website headers start with the <head> tag and close with the </head> tag.
For example:
<!—Example___><!DOCTYPE html > <head> “INSERT TIKTOK PIXEL CODE HERE” </head></html>
Step 5: Save your changes.
And that’s it! Your Pixel Code is now installed on your website, and you can start tracking conversions.
Also Read: Find Your Quora Pixel ID
How to uninstall TikTok Pixel?
If you want to uninstall TikTok Pixel, remove the pixel code from your website’s header section. Here are the steps:
Step 1: Go to your website’s code editor and navigate the header section.
Step 2: Delete the Pixel code.
Step 3: Save your changes.
And that’s it!
Also Read: Find Your Twitter Pixel ID
How to track TikTok Ads: TikTok Pixel VS Custom Tracking Solution
Some advertisers prefer a custom tracking solution, which can offer more flexibility and control over the tracking process. With a custom tracking solution, advertisers can track specific events unique to their business and tailor their tracking to their particular needs. This can be very useful for companies with complex sales funnels or multiple conversion points.
So which option is better – the TikTok Pixel or a custom tracking solution? The answer to this query will vary depending on various factors, including the size of your business, the complexity of your sales funnel, and your overall ad strategy.
One of the significant pros of using TikTok Pixel is that it’s an all-in-one solution that’s easy to set up and use. You don’t need technical skills to install it, and it works seamlessly with TikTok’s advertising platform. Once it’s installed, you can start tracking conversions right away. It also offers a variety of conversion events you can follow, such as add-to-cart, checkout, and registration, which gives you a comprehensive understanding of how users interact with your website.
By using the pixel, you can optimize your campaigns and ensure that you get the best possible results for your advertising efforts.
Also Read: Find Your LinkedIn Pixel ID
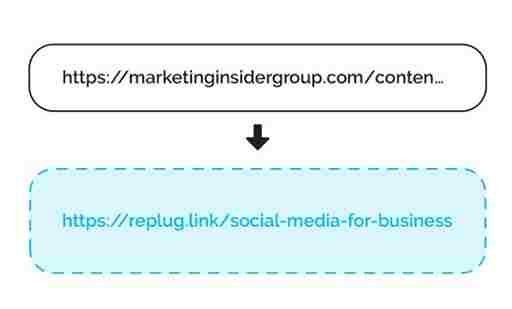
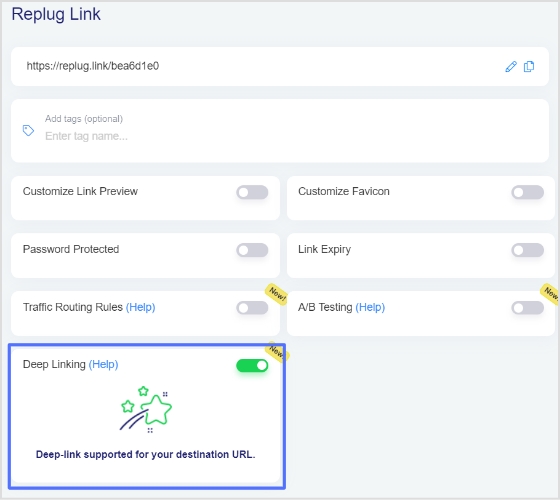
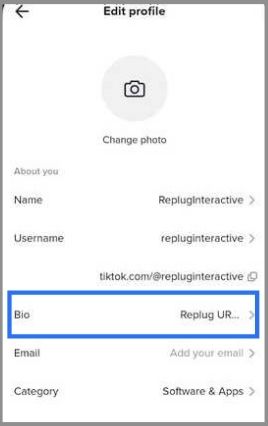
Track Pixels Using Replug URL Shortener
Replug URL shortener offers multiple features such as bio links, deep links, A/B testing and others. One of the features marketers can make most of is the feature of retargeting ad pixels. For this, you just need to run a retargeting campaign for the selected shortened link. It will fire a pixel to the selected socials.
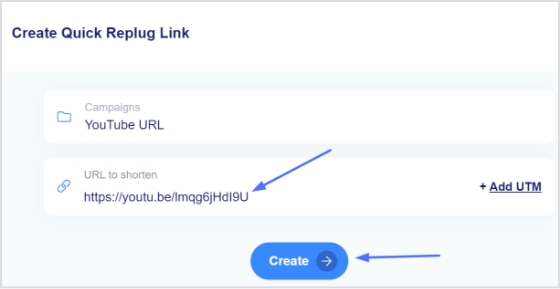
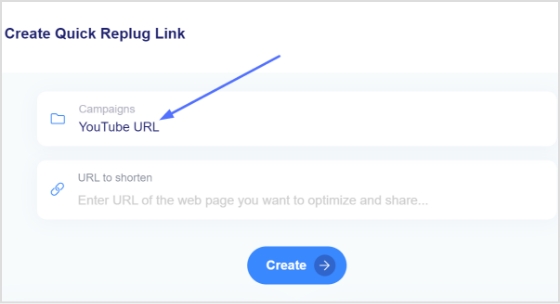
Before you create a retargeting campaign, you need to create a shortened link. Don’t worry, Replug will assist you with this task, with its all powerful link shortening tool.
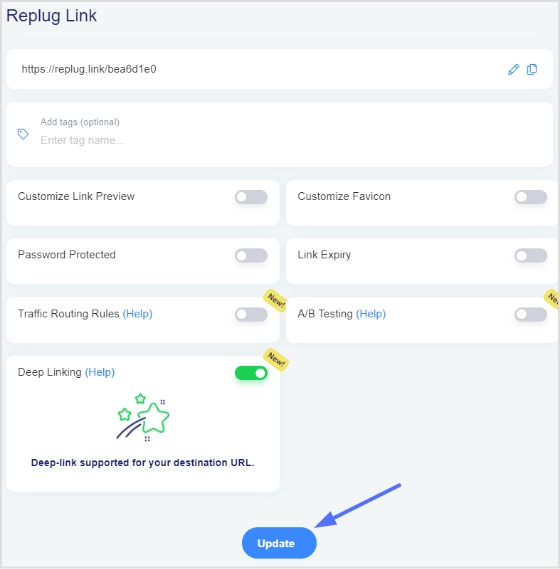
Once done creating a shortened link then move on with the process to create a retargeting campaign in Replug.
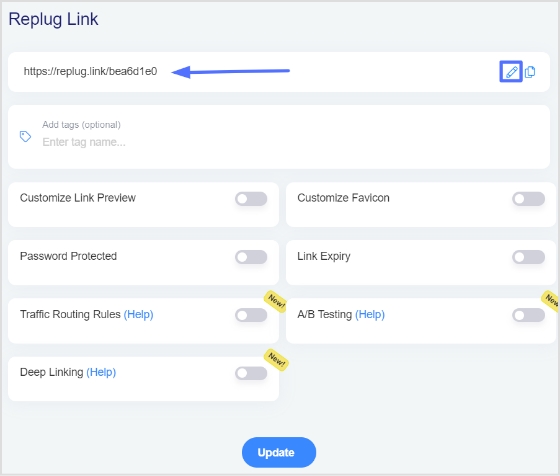
In order to retarget your audience in Replug Tool which is coming through the shortened links, your pixels must be placed on those shortened links.
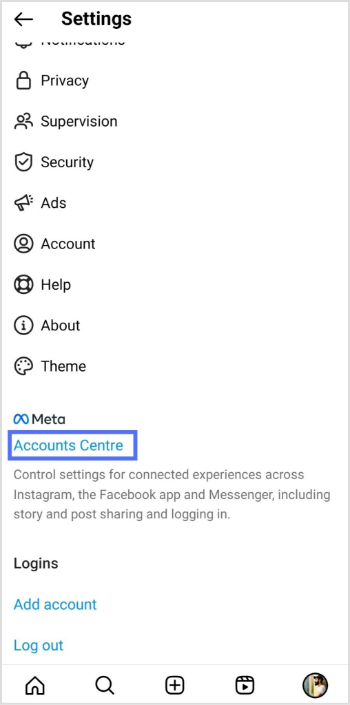
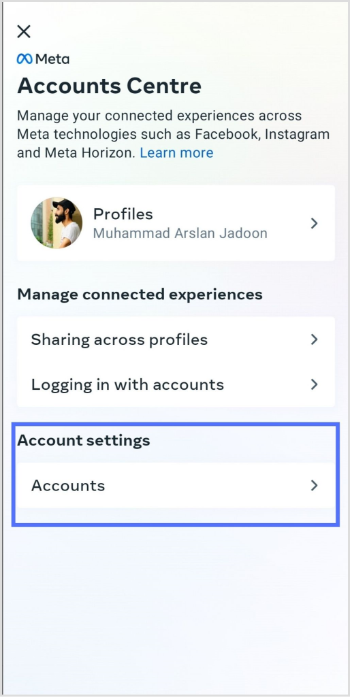
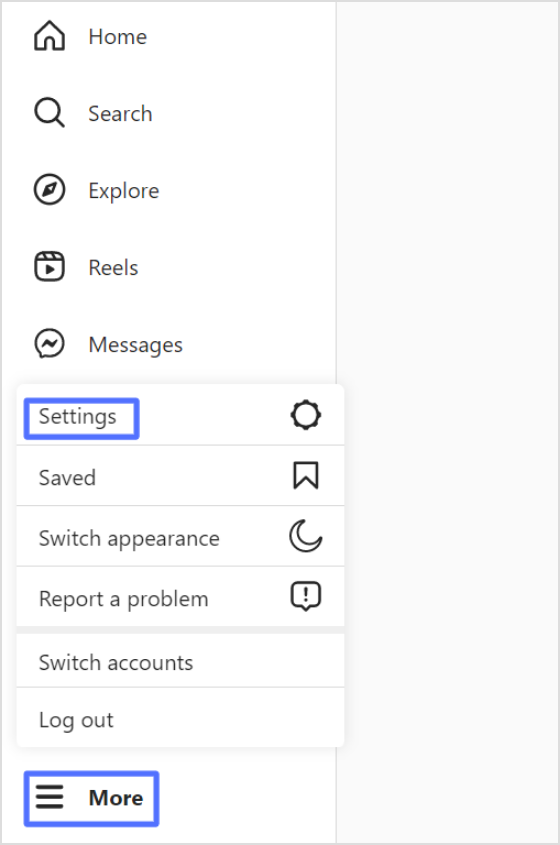
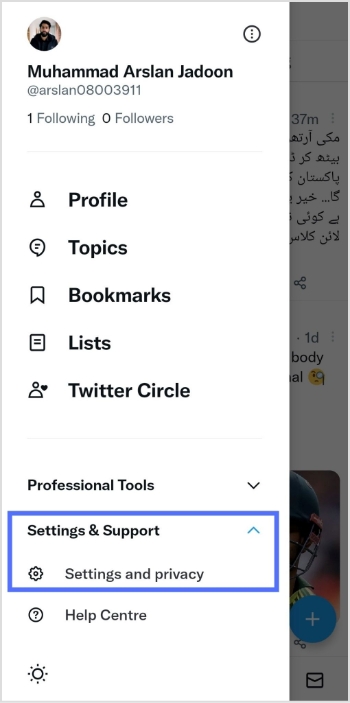
To do so, navigate to the right top corner, click your name to open the settings menu, and further click on Retargeting Pixels to add your Tiktok Pixel.
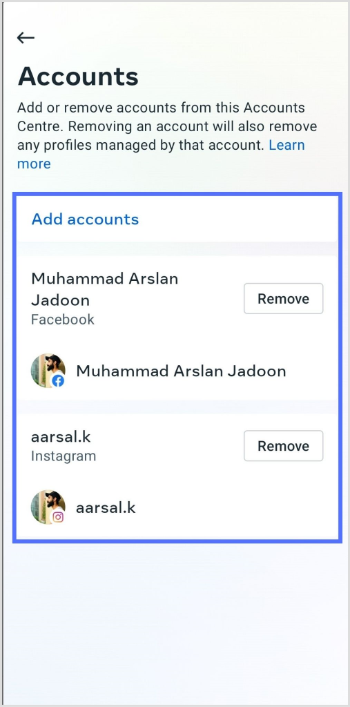
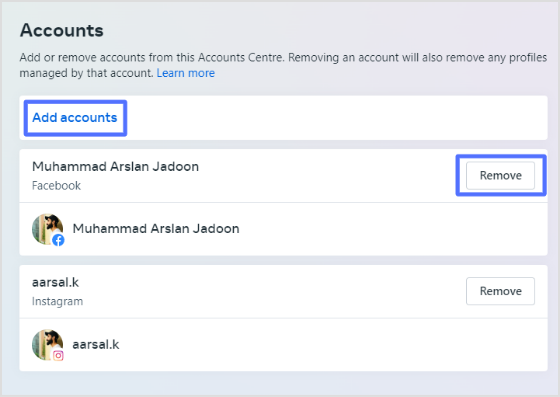
Then on the new window, click on “Add a Pixel” which will open up a pop window, select the desired social network i.e. TikTok in this case and add your Pixel ID and click save.
Amazing thing about Replug is that you can add multiple retargeting pixels to the same short link.
Why do websites use TikTok trackers?
Now, when it comes to TikTok trackers, websites use them because TikTok is a massively popular social media platform. Many websites want to take advantage of this popularity by integrating TikTok content into their site, such as embedding TikTok videos or allowing users to share TikTok content directly.
To do this, websites must use TikTok trackers to gather user data and track their behavior. This data can be used to optimize the user experience by recommending more relevant TikTok content to users based on their interests and behaviors.
In addition, using TikTok trackers can also provide insights into how users interact with TikTok content on the website. For example, website owners can see which TikTok videos are getting the most views and engagement and use this data to inform their content strategy and improve their overall performance.
It can help websites to monetize their content more effectively. By tracking user behavior, websites can better understand their audience and target ads more effectively. This can increase the likelihood of users clicking on ads, generating revenue for the website owner.
Those are some of the reasons why websites use TikTok trackers. While there are certainly valid concerns about user privacy and data protection, it’s clear that there are also many benefits to using trackers that can help websites to offer a better user experience and monetize their content more effectively.
Also Read: Find Your Pinterest Pixel ID
Best practices for TikTok conversion tracking
If you’re looking to use TikTok conversion tracking, there are a few best practices you should keep in mind to ensure you’re getting the most out of your efforts. Here are a few points to help you get started:
- Set clear goals: Before you start tracking conversions on TikTok, you must have a clear idea of what you want to achieve. Whether you’re looking to drive more traffic to your website, increase sales, or boost brand awareness, having a specific goal in mind will help you to track and measure your progress more effectively.
- Use the right tracking tools: TikTok offers a range of tracking tools that can help you to measure your conversions and track the effectiveness of your campaigns. Be sure to use these tools to their fullest extent, and consider integrating them with your existing analytics and reporting tools for a more comprehensive view of your performance.
- Test and optimize your campaigns: Like any marketing campaign, TikTok conversion tracking requires testing and optimization to ensure you get the best results. Try experimenting with different ad layouts & formats, targeting options, & messaging to see what works best for your audience. Use the data from your tracking tools to inform your decisions.
- Monitor your metrics regularly: To get the most out of your TikTok conversion tracking efforts, it’s essential to monitor your metrics periodically and make adjustments as needed. Keep an eye on your click-through rates, conversion rates, and other key performance indicators, and use this information to make data-driven decisions about optimizing your campaigns.
- Consider working with a TikTok partner: If you’re new to TikTok conversion tracking or need help optimizing your campaigns, consider working with a TikTok partner. These companies specialize in helping businesses to achieve their goals on TikTok and can offer expertise in maximizing your efforts.
Interested in using TikTok Pixel in your marketing strategy?
We’ve covered a lot of ground, from what TikTok Pixel is, to how it works and the step-by-step guide to help you quickly get started.
However, TikTok Pixel is not the only advertising tool available. If you want to take your advertising game to the next level, consider exploring Replug’s Link Retargeting Pixels.
With Replug.io, you can track and retarget every link you share online, turning your content into a powerful advertising tool. So why not check it out and see how it can help your business grow?
FAQs
Why does TikTok get glitchy?
There can be a few reasons why TikTok gets glitchy. It could be due to an outdated app version, poor internet connectivity, or a bug in the app itself. Sometimes, restarting the app or clearing the cache can resolve the issue. If the problem continues, you can try uninstalling and reinstalling the app or contacting TikTok support for assistance.
What are some alternatives to TikTok Pixel?
While TikTok Pixel is a powerful tool for tracking conversions and optimizing ad campaigns, there are a few alternatives that you can consider if you’re looking for something different. For example, Google Analytics offers robust tracking capabilities and can be integrated with other Google marketing tools like Google Ads.
Facebook Pixel is another popular option for tracking conversions and measuring the effectiveness of Facebook ads. Additionally, third-party tracking tools can provide various tracking and analysis features. Ultimately, the right tool for you will depend upon your specific needs and goals, so it’s worth exploring a few different options to find the one that’s best for your business.
You may also like:
How to get more followers on TikTok?
TikTok Bio Ideas & Hacks to Drive Traffic
How To Get More TikTok Views? 15 Hacks That Work
How To Put A Link In TikTok Bio?