Instagram does not allow users to download videos directly from the platform, but there are a few ways to download Instagram videos.
Here are some methods:
Method 1:
Download using a video downloader website:
Many websites allow you to download Instagram videos. Here’s how to download Instagram videos using a video downloader website:
Step 1: Open the Instagram app and find the video you want to download.
Step 2: Click on the three dots in the upper right corner of the video and select “Copy Link.”

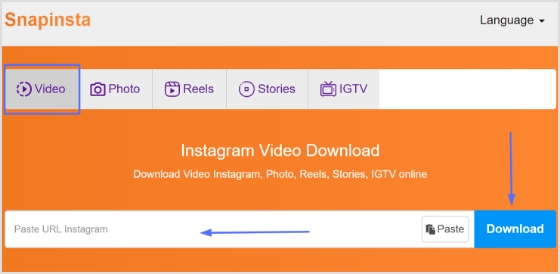
Step 3: Go to a video downloader’s website, like “Snapinsta” and paste the link into the search bar.
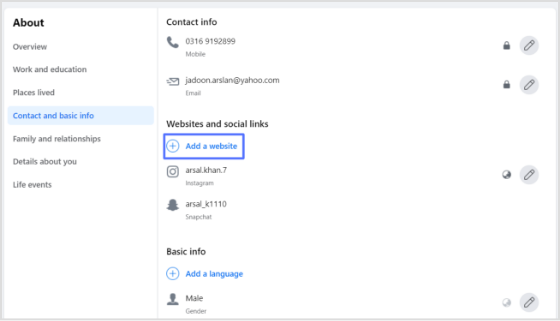
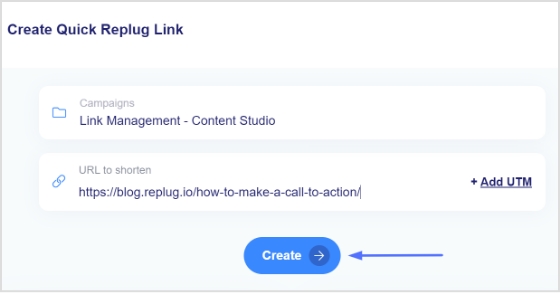
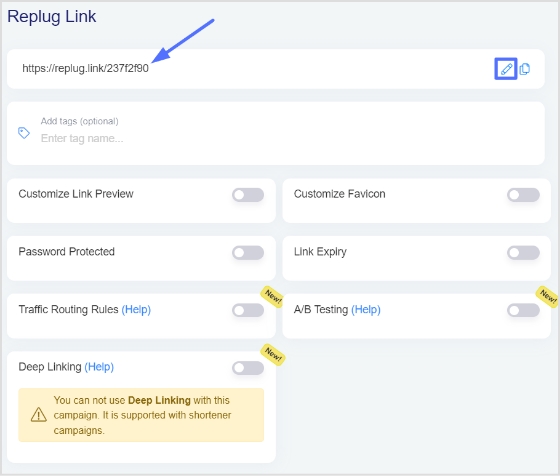
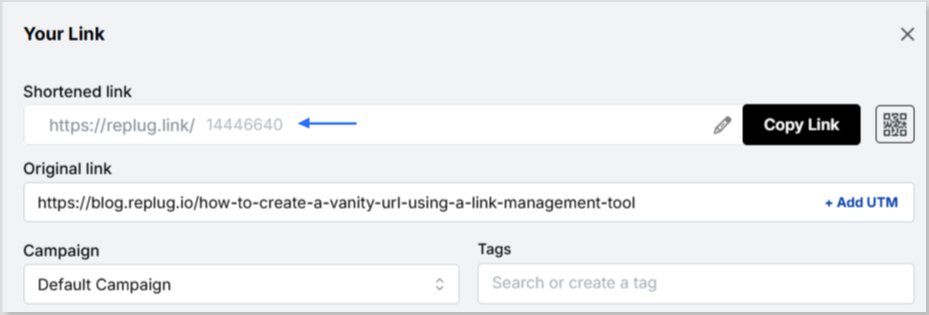
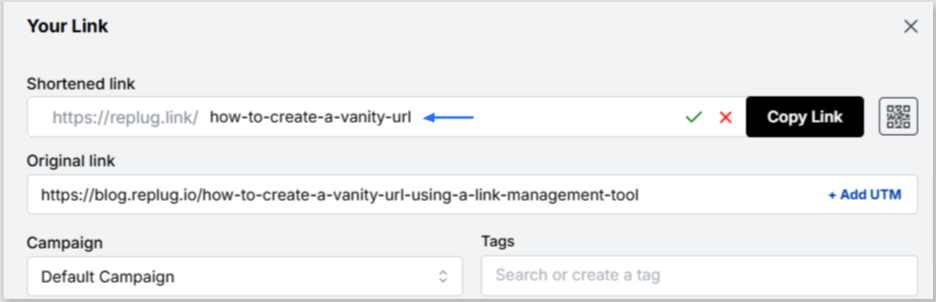
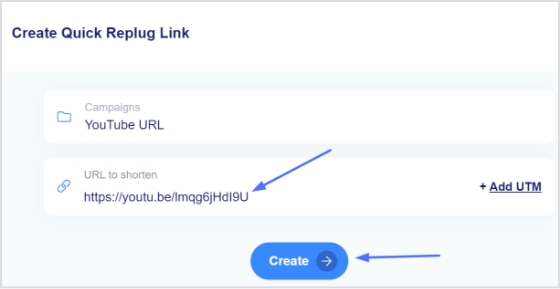
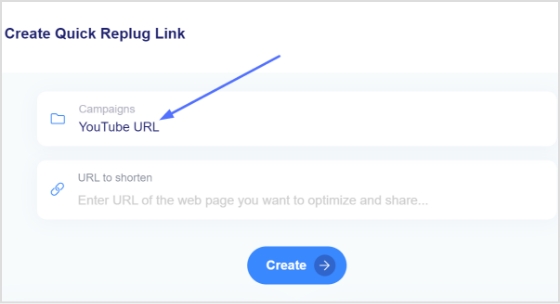
Note: Before pasting, you could also use a link converter to shorten or clean up the URL, making it easier to share or save, while keeping things organized and trackable for future reference.
Step 4: Click download, and the video will be downloaded to your device.
Also Read: How To Turn Off Vanish Mode On Instagram?
Method 2:
Download using a third-party app:
Here’s how to download Instagram videos using a third-party app:
Many third-party apps allow you to download Instagram videos. Here are some popular ones:
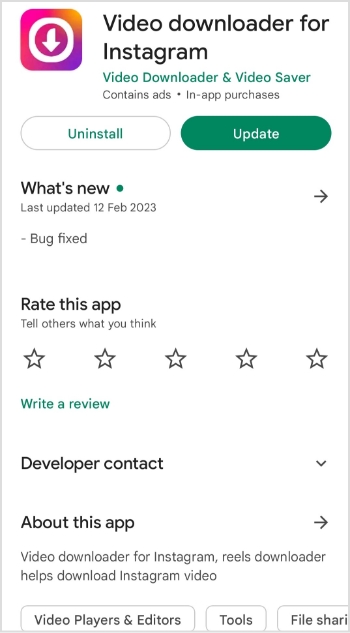
Video Downloader for Instagram: This app is available on iOS and Android. It allows you to download videos from Instagram by copying the video link and pasting it into the app.
InstaSave: This app is available for Android and allows you to download Instagram videos by copying the video link and pasting it into the app.

Method 3:
Use a screen recording tool:
If the above methods don’t work, you can use a screen recording tool to record the video as it plays on your screen. Here’s how:
Step 1: Open the Instagram app and find the video you want to download.
Step 2: Start a screen recording on your device (the method varies by device).
Step 3: Play the Instagram video and let it play in full.
Step 4: Stop the screen recording and save the video to your device.
It’s important to note that some of these methods may violate Instagram’s terms of service, and downloading copyrighted content without permission is illegal. Make sure you have the necessary rights to the content before downloading.
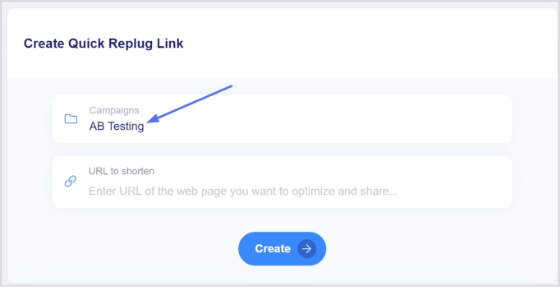
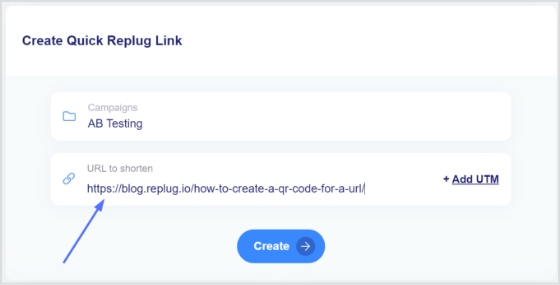
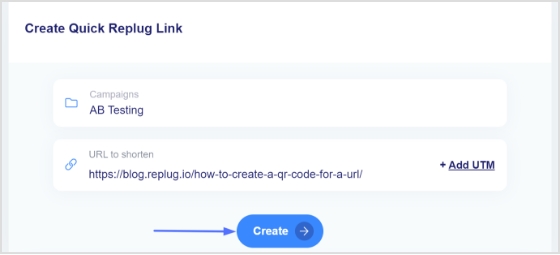
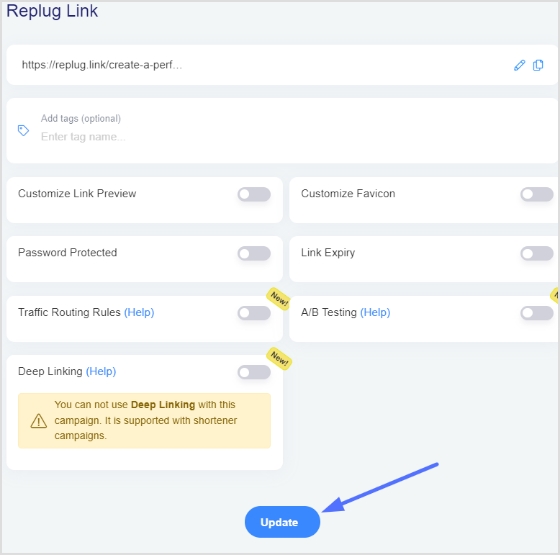
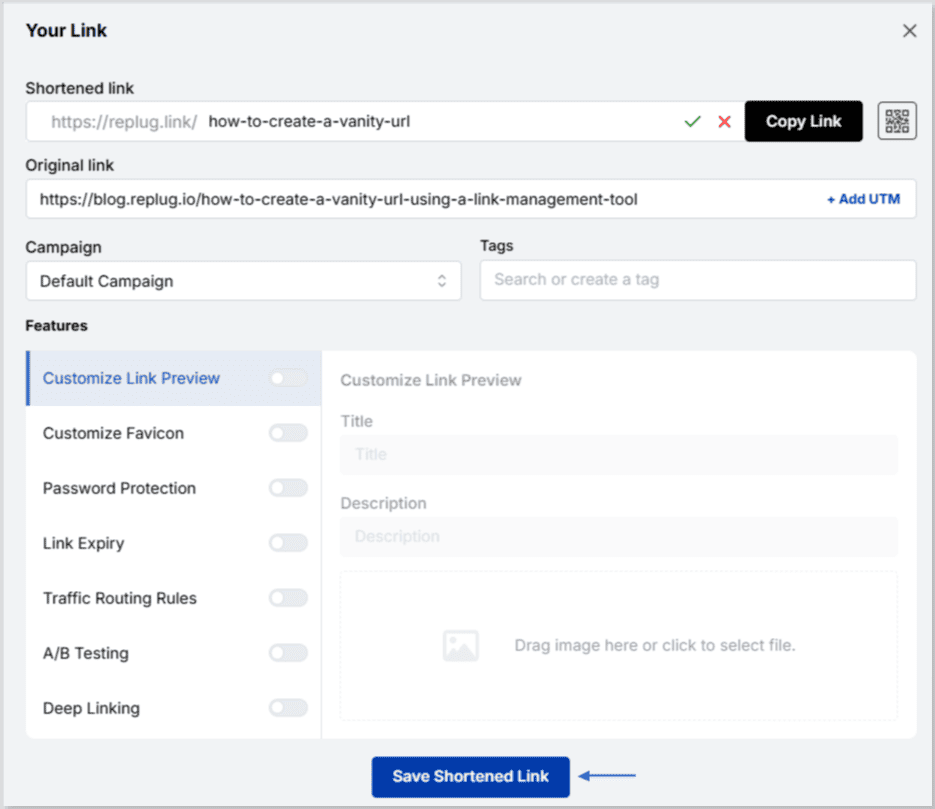
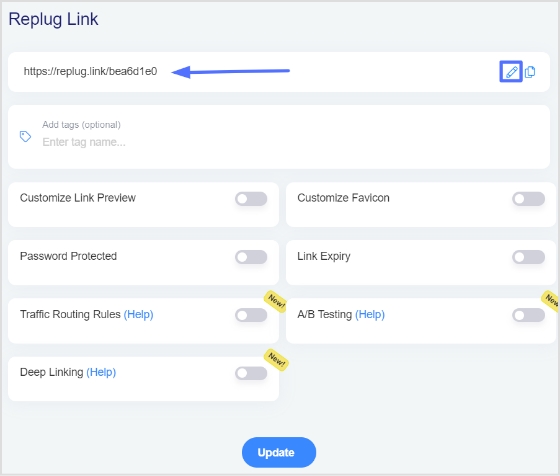
And, if you frequently work with social media links or share downloadable content across platforms, Replug can serve as a handy hub, letting you manage and organize all your links easily before you share or download content.
You may also like: How to find live videos on Instagram?
FAQs
How to download Instagram reels?
There are several ways to download Instagram reels, and I’ll outline some of the most common methods:
1. Using a third-party app: Many third-party apps allow you to download Instagram reels. Some popular ones include InSaver, Video Downloader for Instagram, and InstaSave. To use these apps, copy the link to the reel you want to download, paste it into the app, and follow the instructions to download the video.
2. Using an online downloader: Several websites allow you to download Instagram reels. Some popular ones include InstaDownloader, InstaOffline, and DownloadGram. To use these websites, copy the link to the reel you want to download, paste it into the website, and follow the instructions to download the video.
3. Using the built-in download option: Instagram has recently added a built-in download option that allows you to download your reels. To use this feature, open the reel you want to download, tap the three dots in the top right corner, and select “Save Reel.” The reel will be saved to your camera roll.
Trending: