Think about how many times you’ve wanted someone to contact you on WhatsApp without first saving your number. It’s a little friction that often leads to lost leads, slower responses, and missed opportunities. This is where WhatsApp short links come in.
With over 2.5 billion users worldwide, WhatsApp has become one of the most powerful communication channels for businesses. From small stores to global brands, your customers already use WhatsApp daily, and short links make it effortless to maximize engagement
In this guide, we’ll walk through everything you need to know:
- What WhatsApp short links are
- How to create them (manually, and with link shortening tools like Replug)
- How to customize them for better results
- Where to use them
- Best practices for using them in business
- Common mistakes to avoid
By the end, you’ll know not just how to create a WhatsApp short link, but also how to optimize it for maximum clicks and conversions.

What is a WhatsApp short link?
A WhatsApp short link is a URL that, when clicked, opens a chat window directly with a specific number in WhatsApp.
For example:

When a customer clicks it, WhatsApp launches with your number pre-filled. You can even add a default message, so the chat opens with text already typed in. For example:

This simple feature saves time for customers and makes initiating a conversation effortless.
Also read: Branded Links vs. Short Links: Which is Right for Your Brand?
How to create a WhatsApp short link manually
You don’t need fancy tools to get started. Here’s the simplest way:
- Take this base link:

- Add your phone number (no spaces, dashes, or special characters, just country code + number). Example:

- (Optional) Add a pre-filled message using ?text= followed by the message in URL-encoded format. Example:

That’s it. You now have a working WhatsApp link.
How to shorten and customize your WhatsApp link
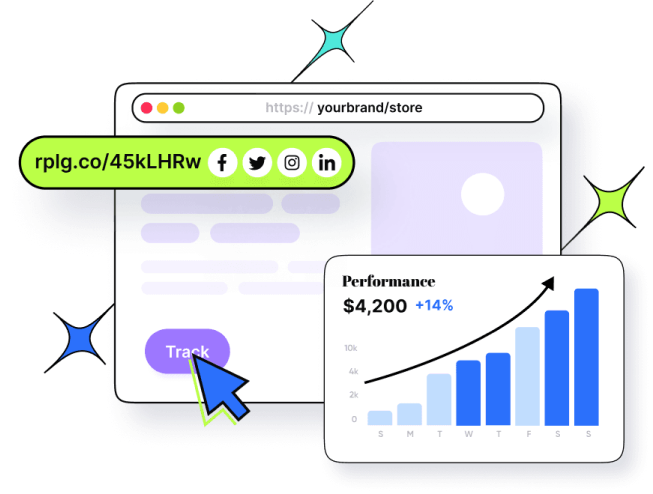
While the manual method works, the link can look long and messy, especially if you’ve added a pre-filled message. With a short link generator like Replug, you can:
- Shorten a link online into something neat like

- Brand the link with your domain name
- Track clicks and measure performance
- Change the destination later if needed
This makes your link look professional and gives you full control.
Create a WhatsApp short link with Replug in 5 easy steps
Replug.io is a great tool if you want to stand out with a professional, branded WhatsApp short link of your profile. It lets you customize your link and track how it performs.
Here’s how to use it:
1. Sign in to your Replug account and go to the dashboard. If you don’t have an account already, create one:

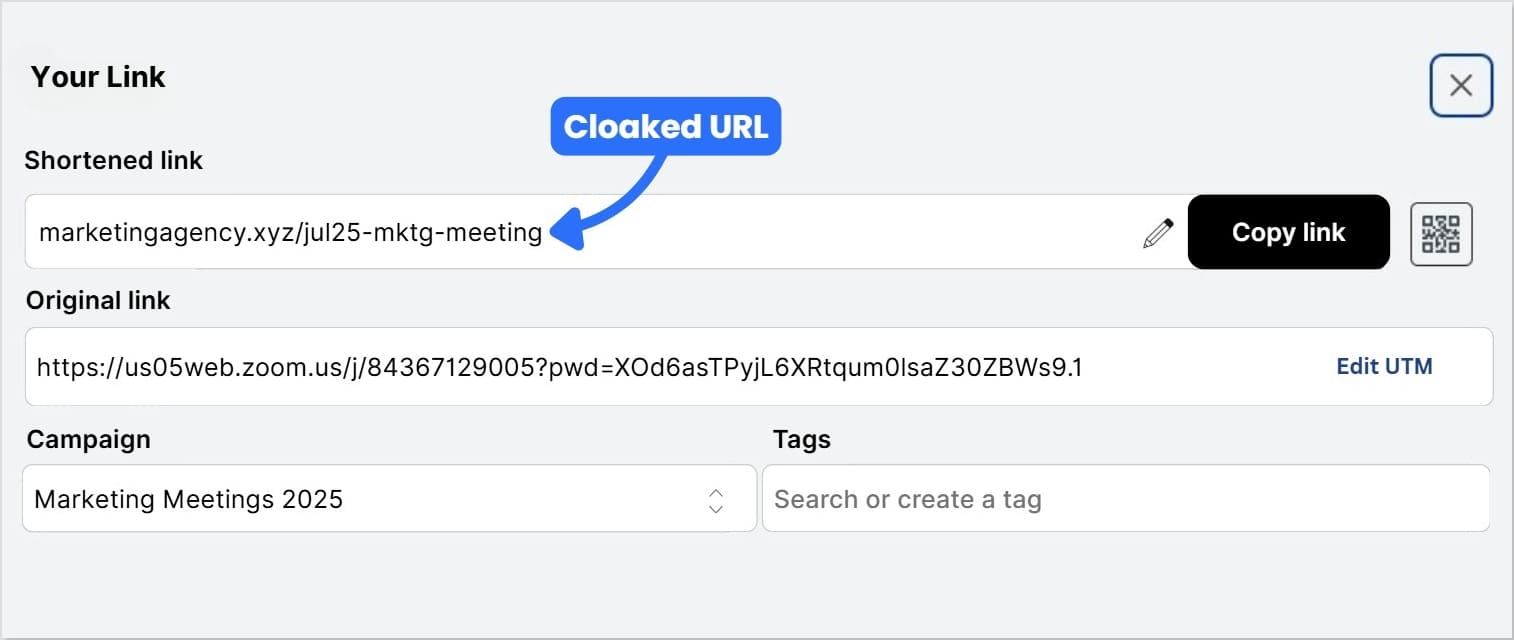
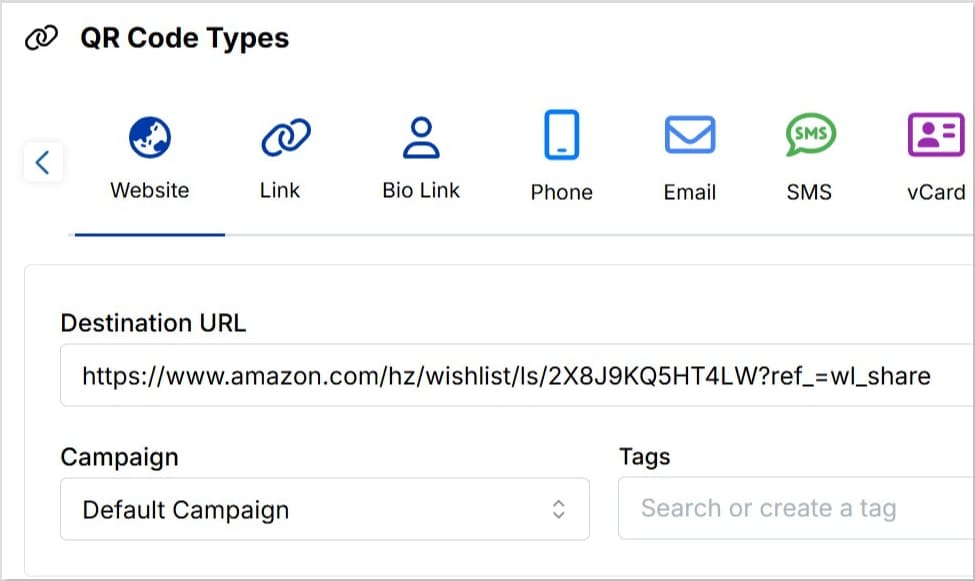
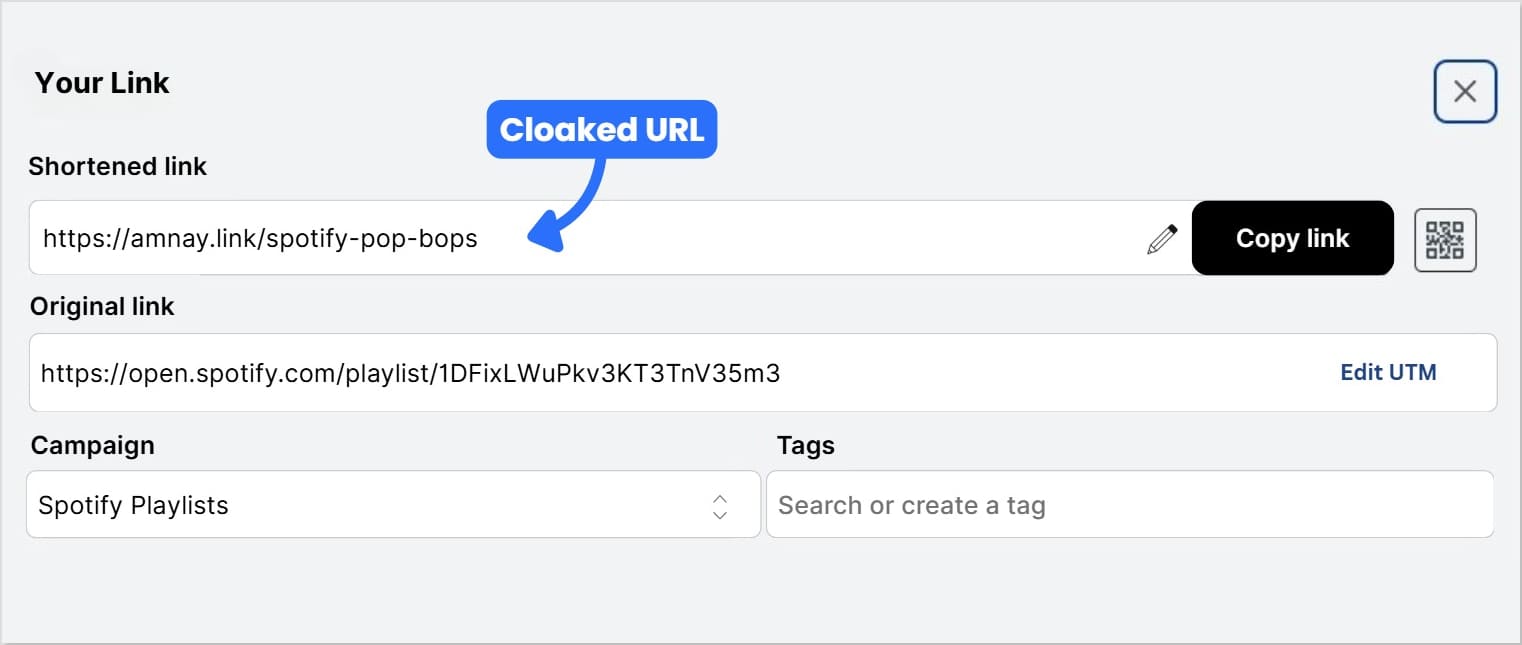
2. Paste your WhatsApp long link in the bar under “Quickly Shorten your link”:

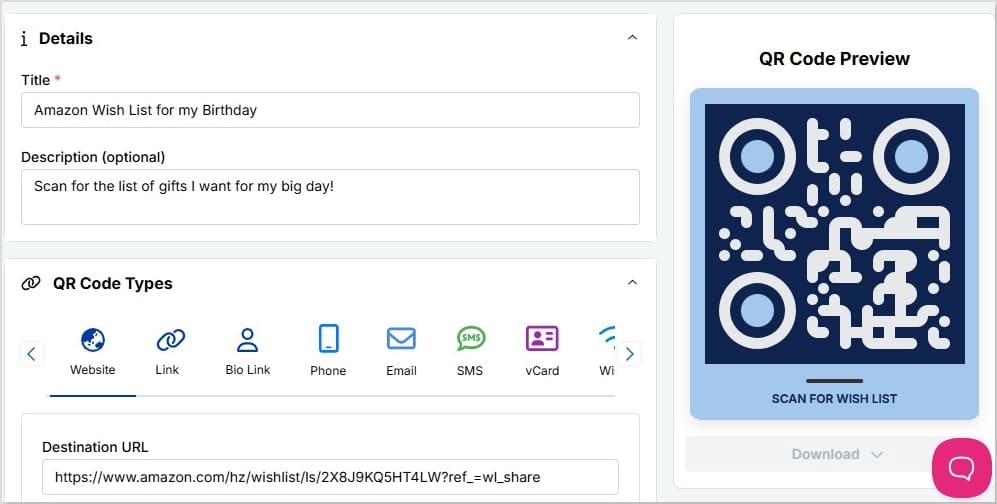
3. Create a custom URL (optional):
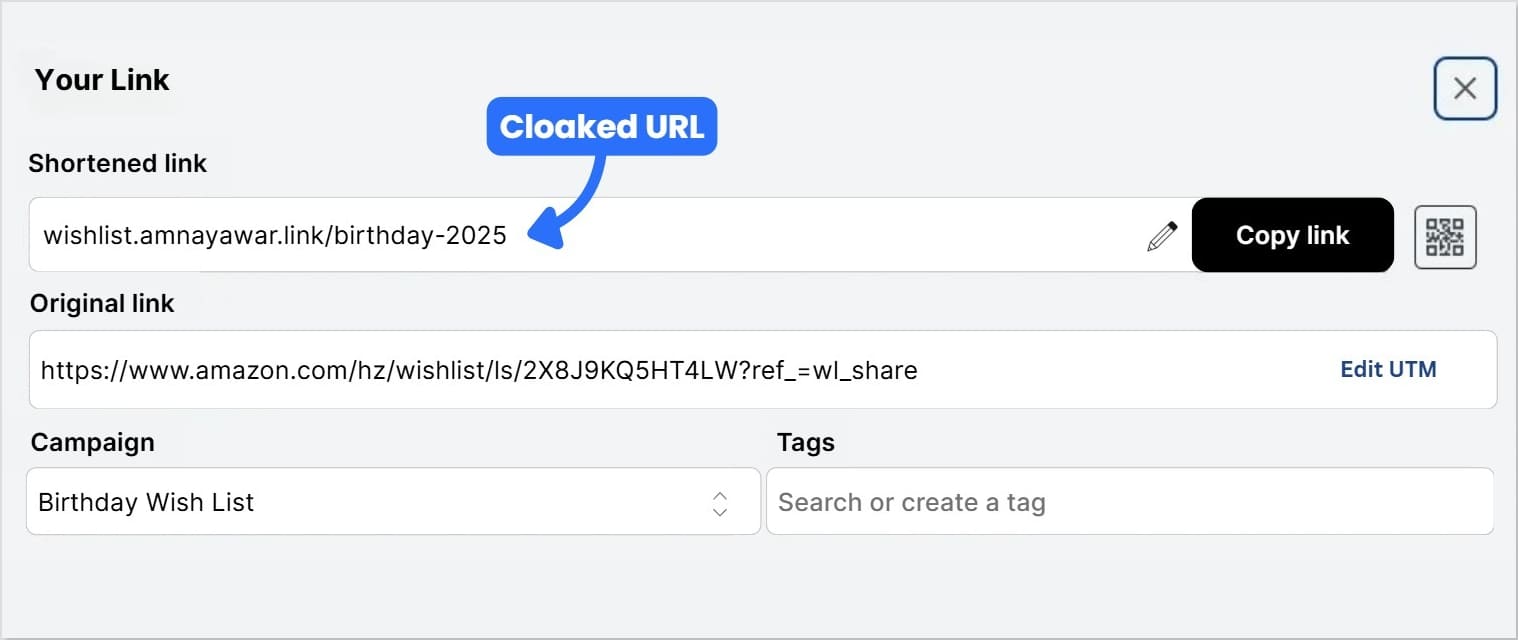
Once done, you’ll get an auto-generated Replug short link. Here’s what it looks like:

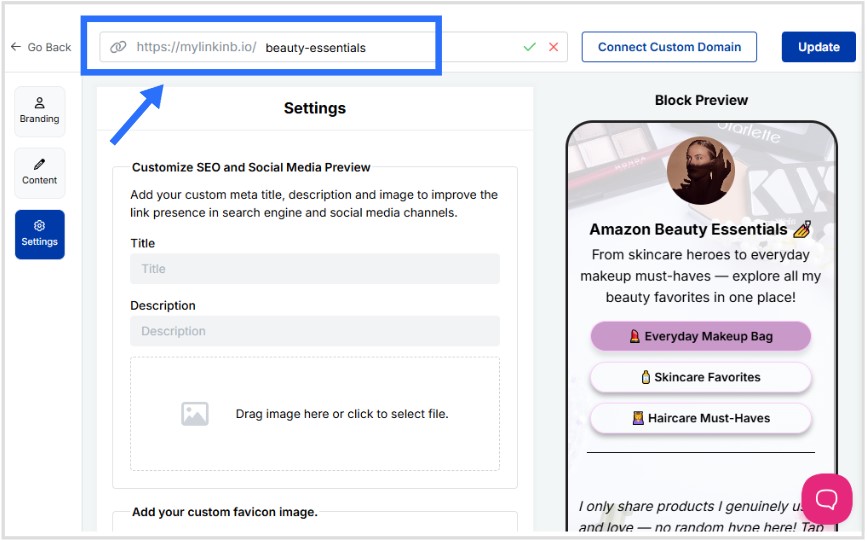
Replug also allows you to customize the slug of your WhatsApp short link. This helps people identify what your link is all about at first glance:

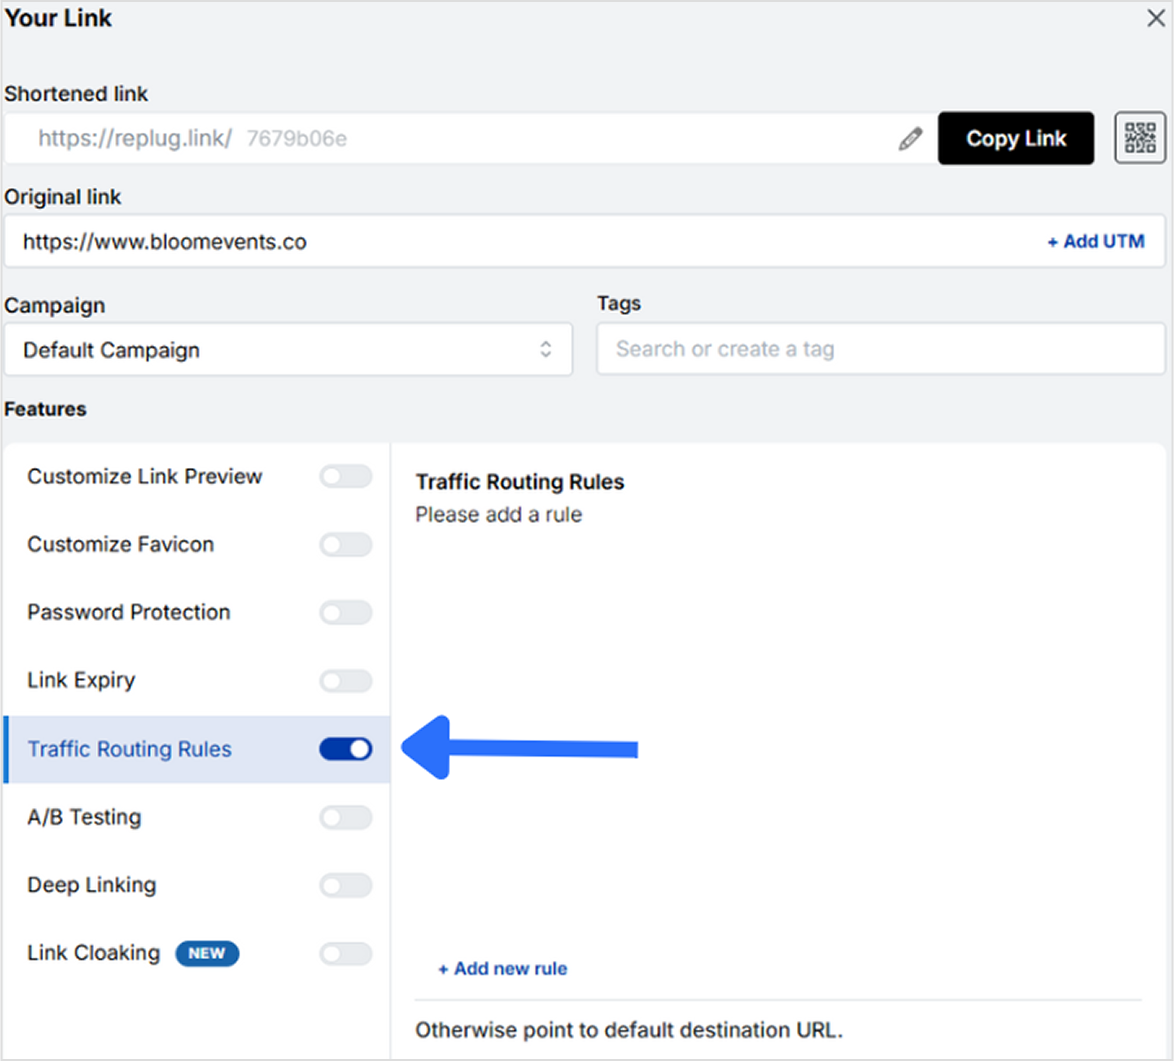
4. Add UTM parameters to track clicks and engagement (optional):
You can easily add UTM parameters through Replug. In our example, we’ve decided to share the link on WhatsApp, so we’ve set the UTM source as “WhatsApp”. You can set it to whichever platform you’re sharing the link on.

5. Save the link and share it across your marketing channels!
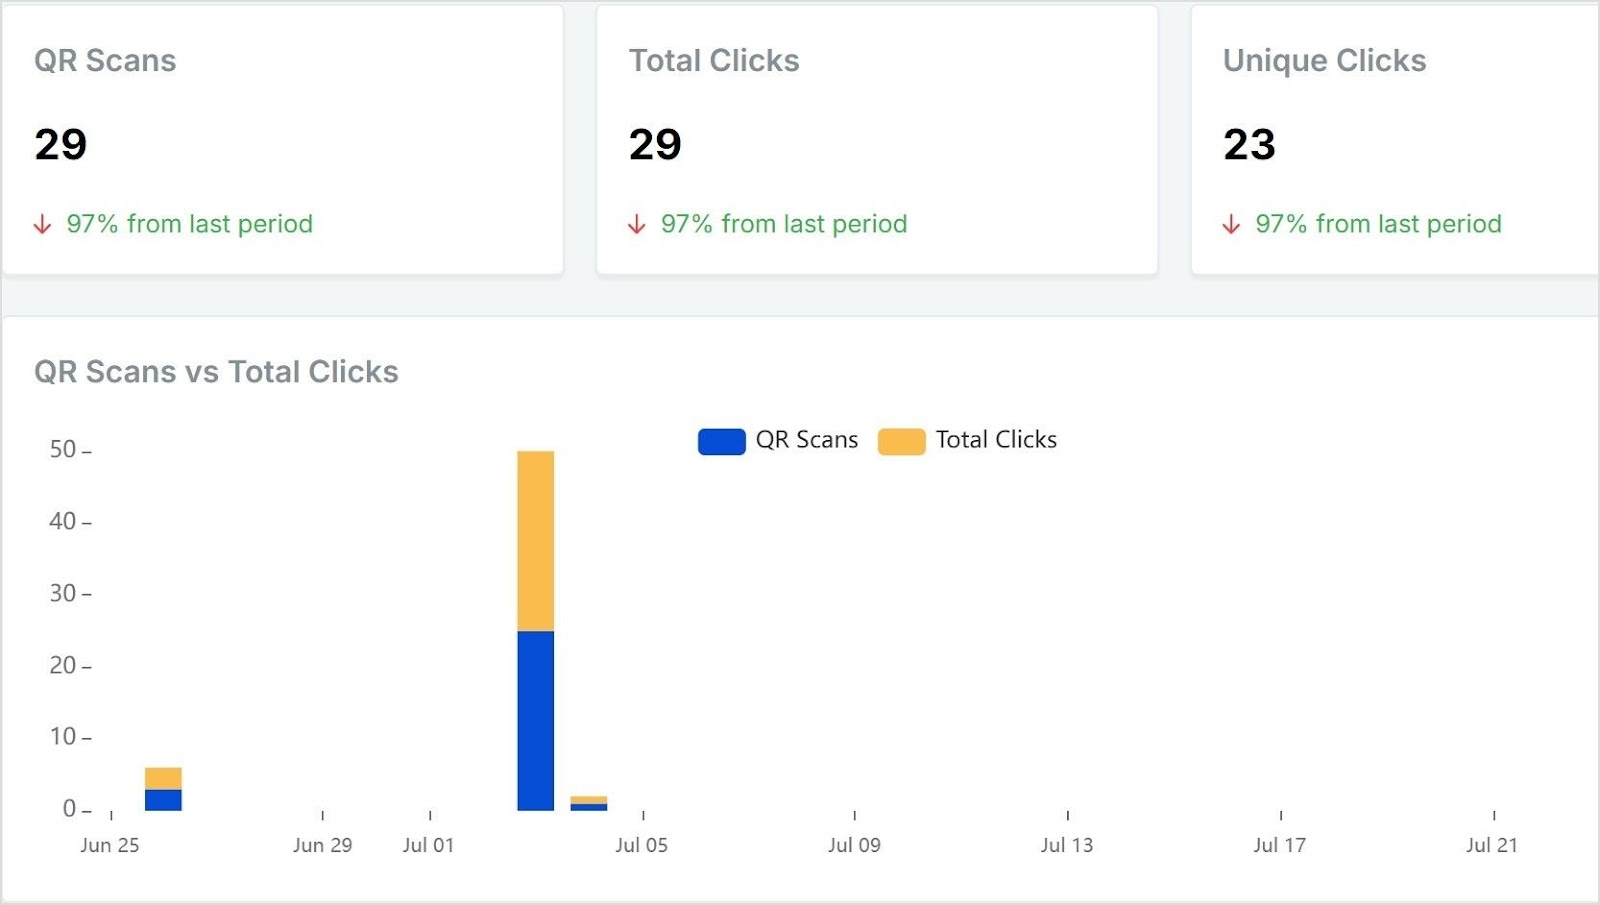
With Replug, you have the added benefit of tracking your links and knowing exactly how well your links are performing.
Benefits of using WhatsApp short links
Why go through the effort of creating a WhatsApp short link? Here are the main benefits:
Reduce friction in communication
Instead of asking customers to manually save your number, they just tap and start chatting.
Increase response rates
The easier it is to reach you, the more likely people are to do it. This boosts response and conversion rates.
Personalize user experience
By pre-filling a message, you guide the conversation and improve user experience. For example:
- “Hi, I’d like to order the red t-shirt in medium.”
- “I want to book an appointment for Friday.”
Perfect for multi-channel marketing
You can add short links to websites, emails, Instagram bios, Facebook ads, or even QR codes.
Trackable with link shorteners
When paired with a link management tool like Replug, you can track clicks, add UTM parameters, and optimize campaigns.
Where to use your WhatsApp short link
A WhatsApp short link can fit into almost every touchpoint of your customer journey. Here are some powerful ways to use it:
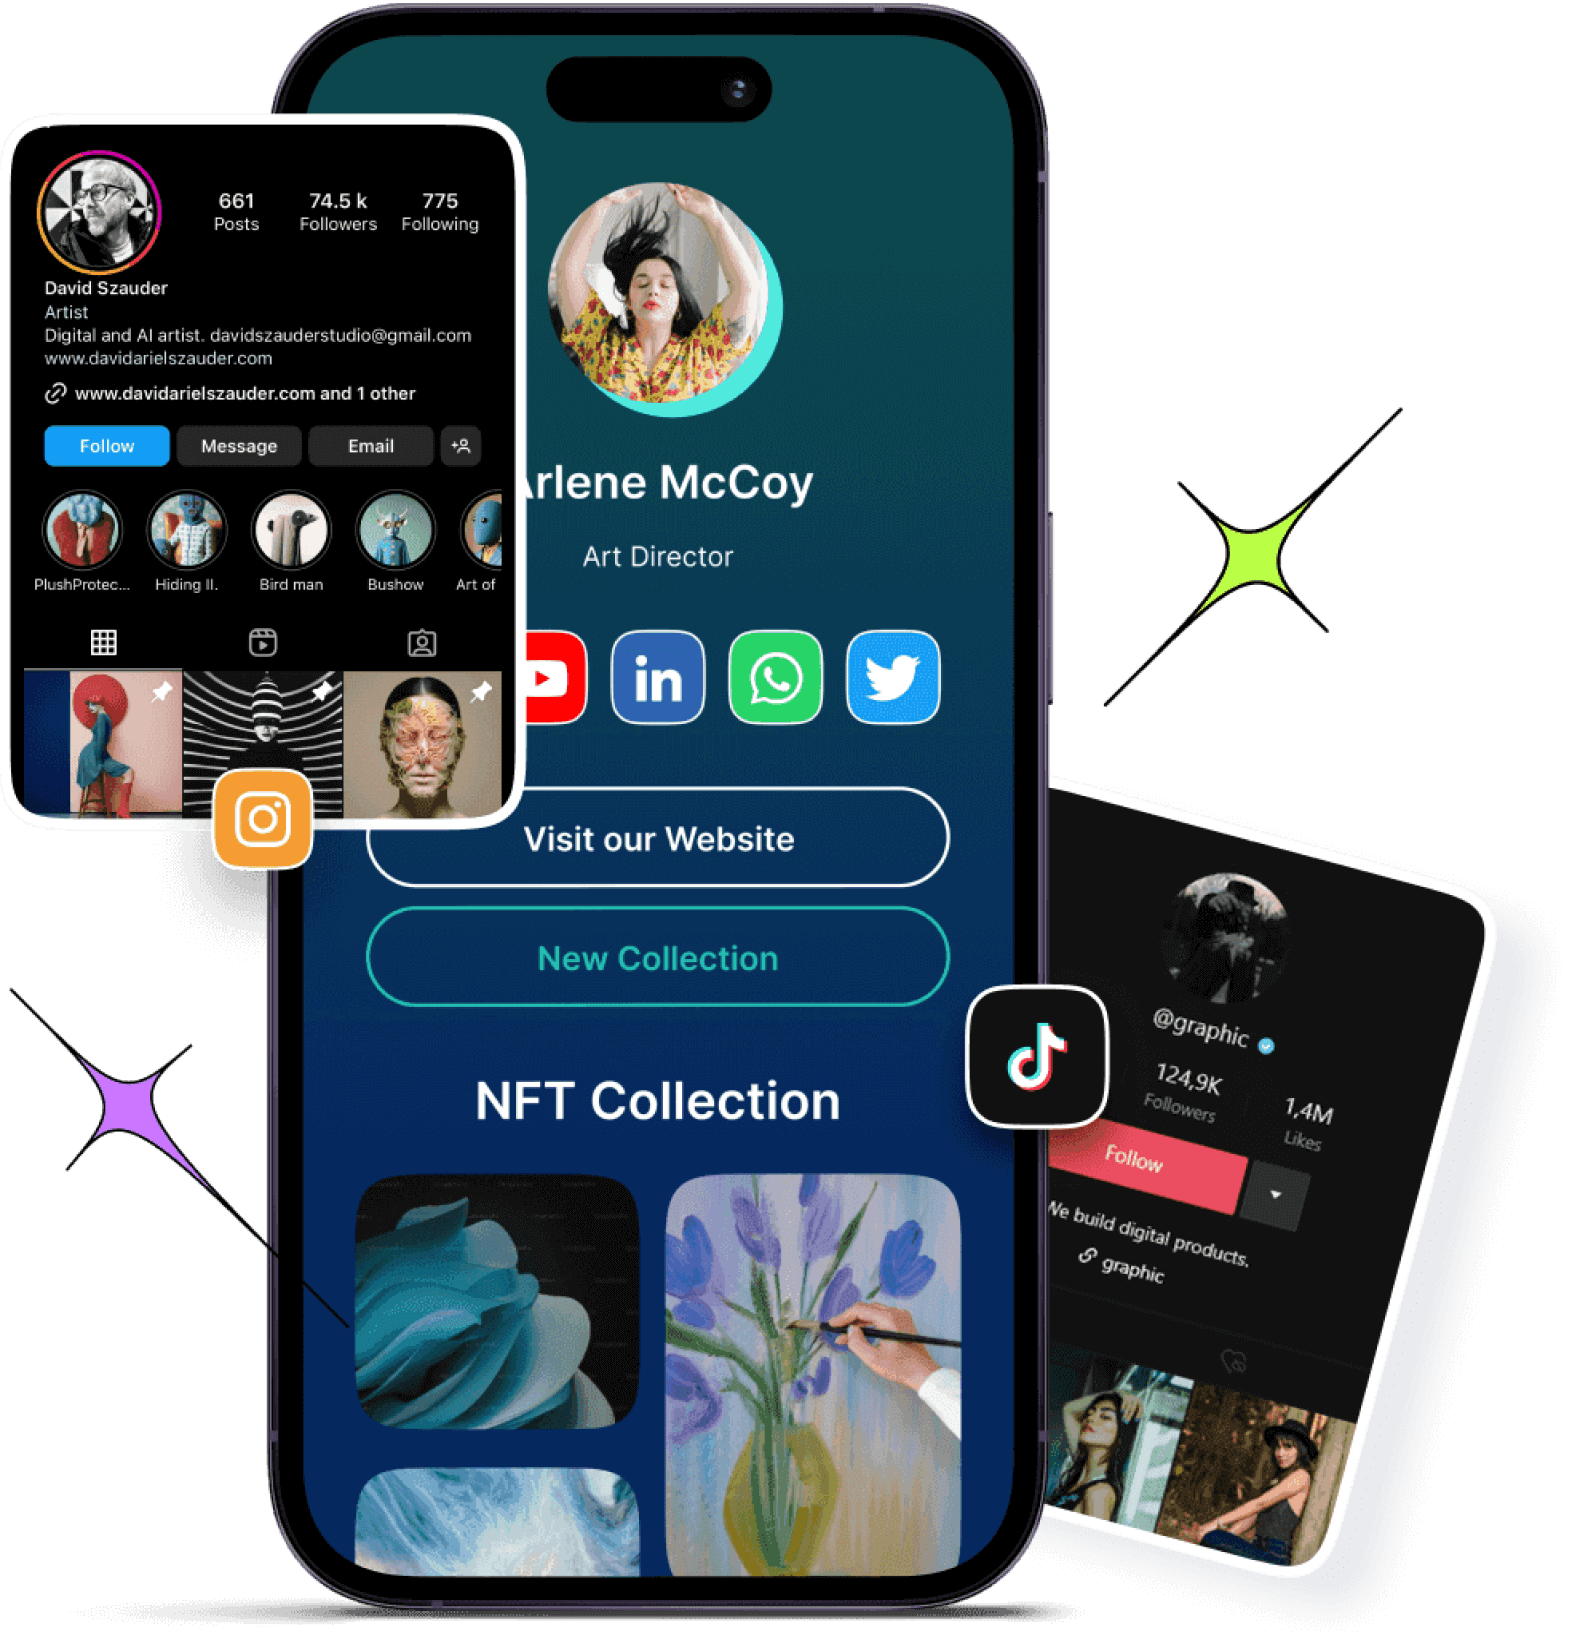
- Social media profiles: Add your WhatsApp link to your Instagram bio, Facebook page, TikTok profile, or LinkedIn. Customers can reach you instantly.
- Email signatures: Include your link in your professional email signature to make yourself more accessible.
- Websites and landing pages: Add a “Chat on WhatsApp” button that directly links to your WhatsApp.
- Digital ads: Place your short link in Google or Meta ads to drive leads directly into a WhatsApp conversation.
- Printed marketing: Combine your WhatsApp short link with a QR code and place it on flyers, brochures, or product packaging.
Examples of WhatsApp short link use cases
To make things more practical, here are real-world scenarios where businesses use WhatsApp short links effectively:
- E-commerce stores: Adding a “Message us on WhatsApp” link on the checkout page to answer last-minute buyer questions.
- Agencies: Including a WhatsApp link in email pitches so prospects can respond instantly.
- Event planners: Sharing WhatsApp links with attendees for instant updates and confirmations.
- Restaurants: Using QR codes linked to WhatsApp for table reservations or takeaway orders.
- Freelancers: Adding a WhatsApp short link to portfolios or social profiles for quick inquiries.
Best practices for WhatsApp short links
To get the most out of your short links, keep these tips in mind:
- Always use international format: If you don’t include the correct format, your link won’t work. Always start with the country code.
- Enhance your pre-filled messages: Make it easy for customers to understand and send. Here are some ready-to-use templates you can copy:
– “Hi, I’d like to know your pricing.”
– I want to book an appointment for [date].”
– “Do you have this product in stock?”
– “I’m interested in your services. Can we schedule a quick call?”
– “Hi, I need customer support with my recent order.”
💡 Pro tip: keep messages short and clear. Avoid long paragraphs that might look spammy.
- Use branded short links: This adds trust and makes your links memorable. Customers are more likely to click on a branded link than a random one.
- Track your performance: Use a tool like Replug to see how many people are clicking your WhatsApp links, where they’re from, and what campaigns drive the most conversations.
- Place links strategically: Think about your customer journey. Add your WhatsApp link at points where people are most likely to have questions or need quick support.
Optimize your WhatsApp short links using Replug
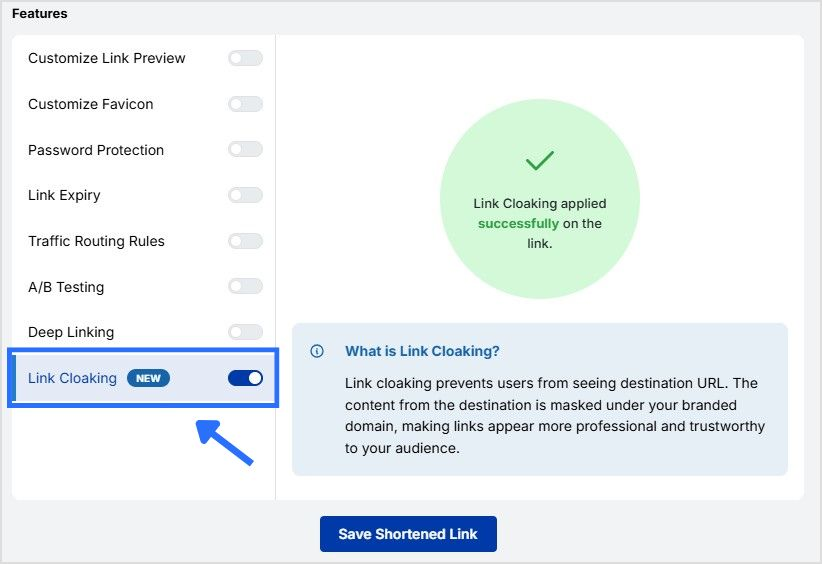
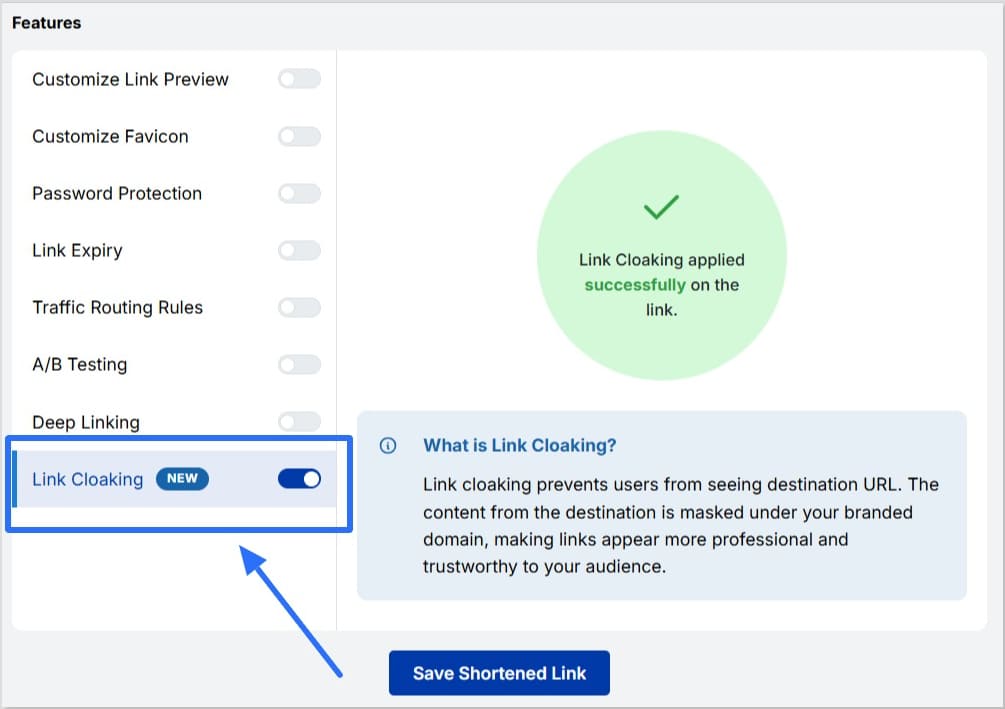
Replug helps you maximize the value of your WhatsApp short links by combining branding, analytics, and personalization. With custom domains, aliases, and preview controls, your links look professional and build trust. Plus, you can track detailed metrics, add UTM tags, and run A/B tests. Features like retargeting pixels, deep linking, and link expiration further enhance engagement, making every campaign smarter and more effective.

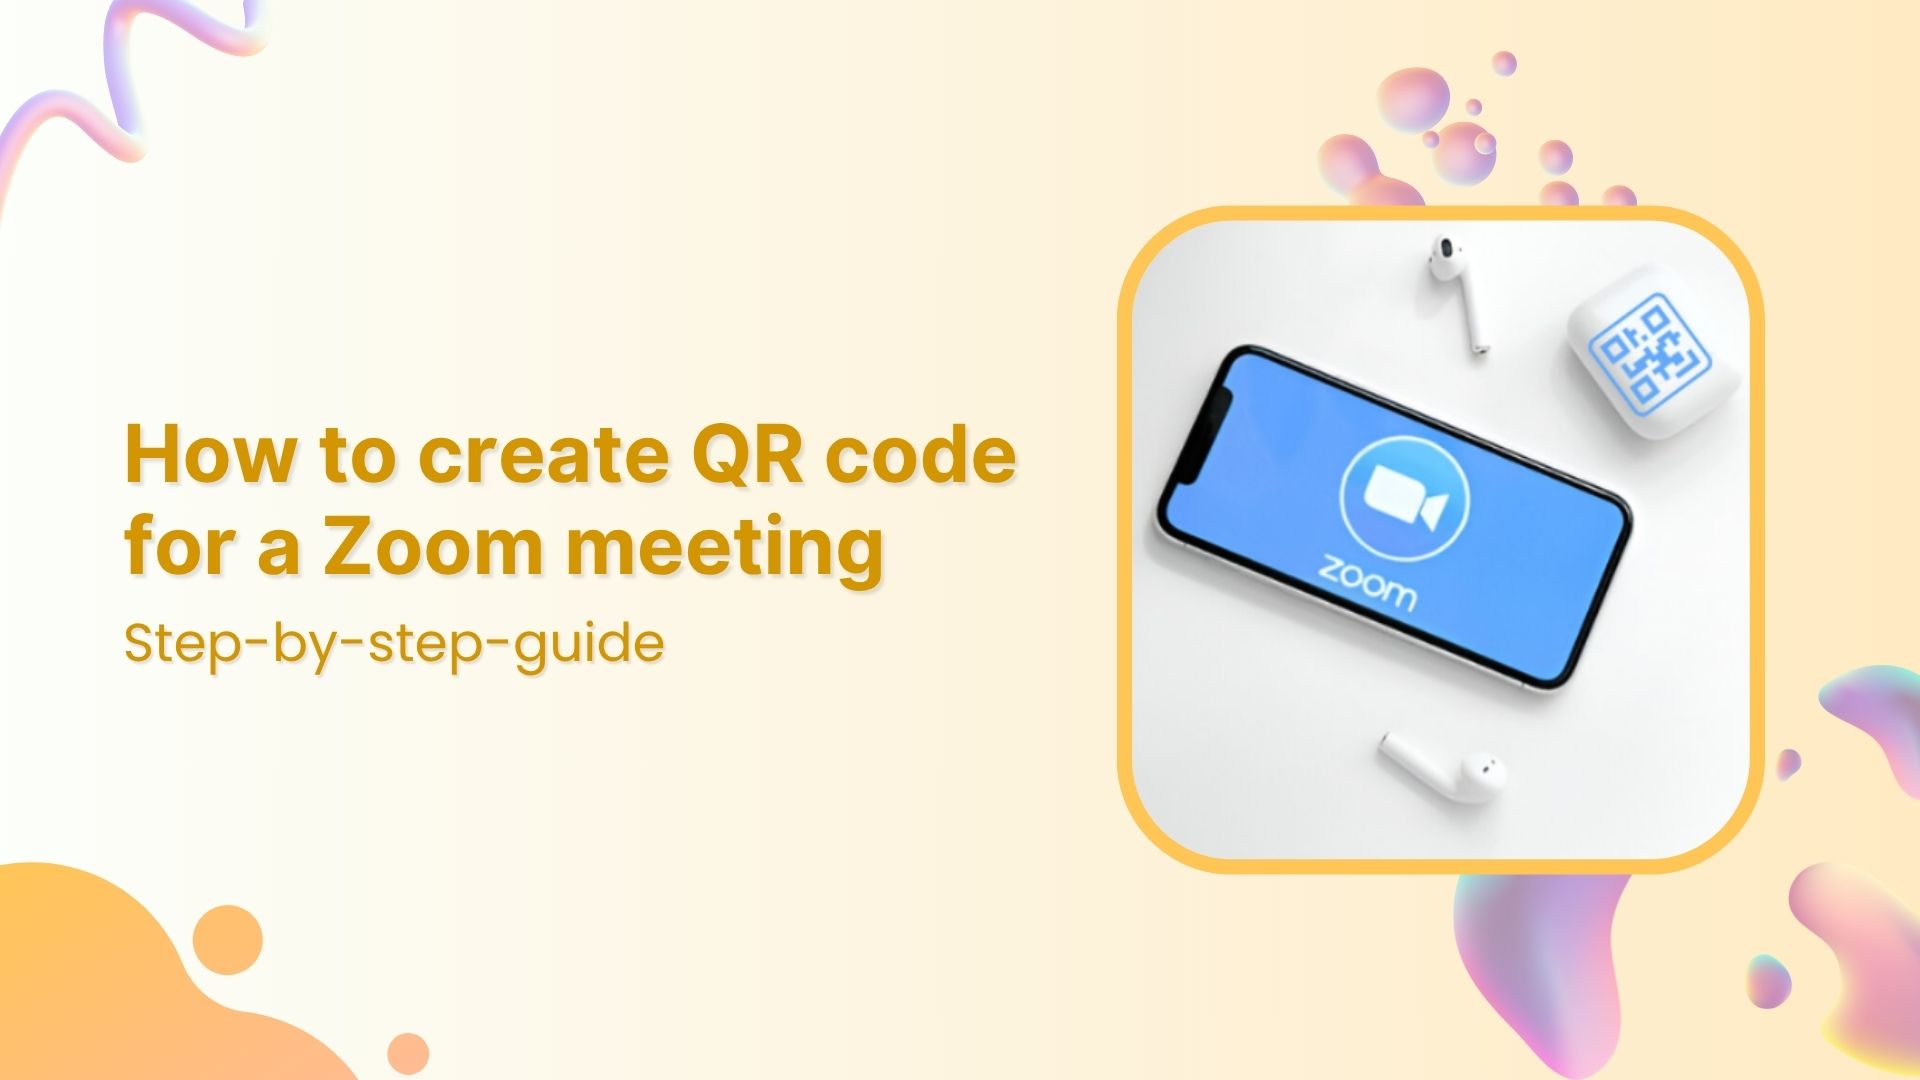
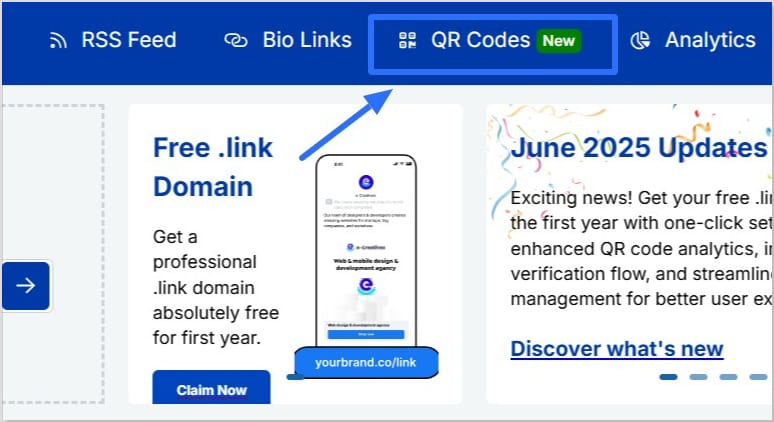
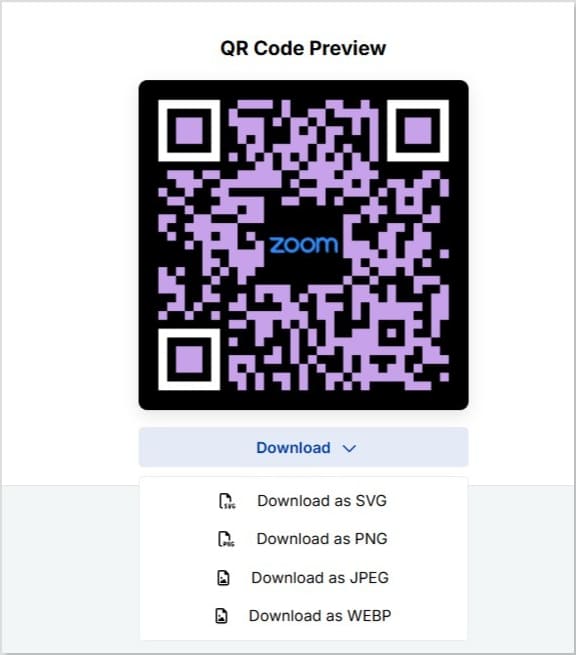
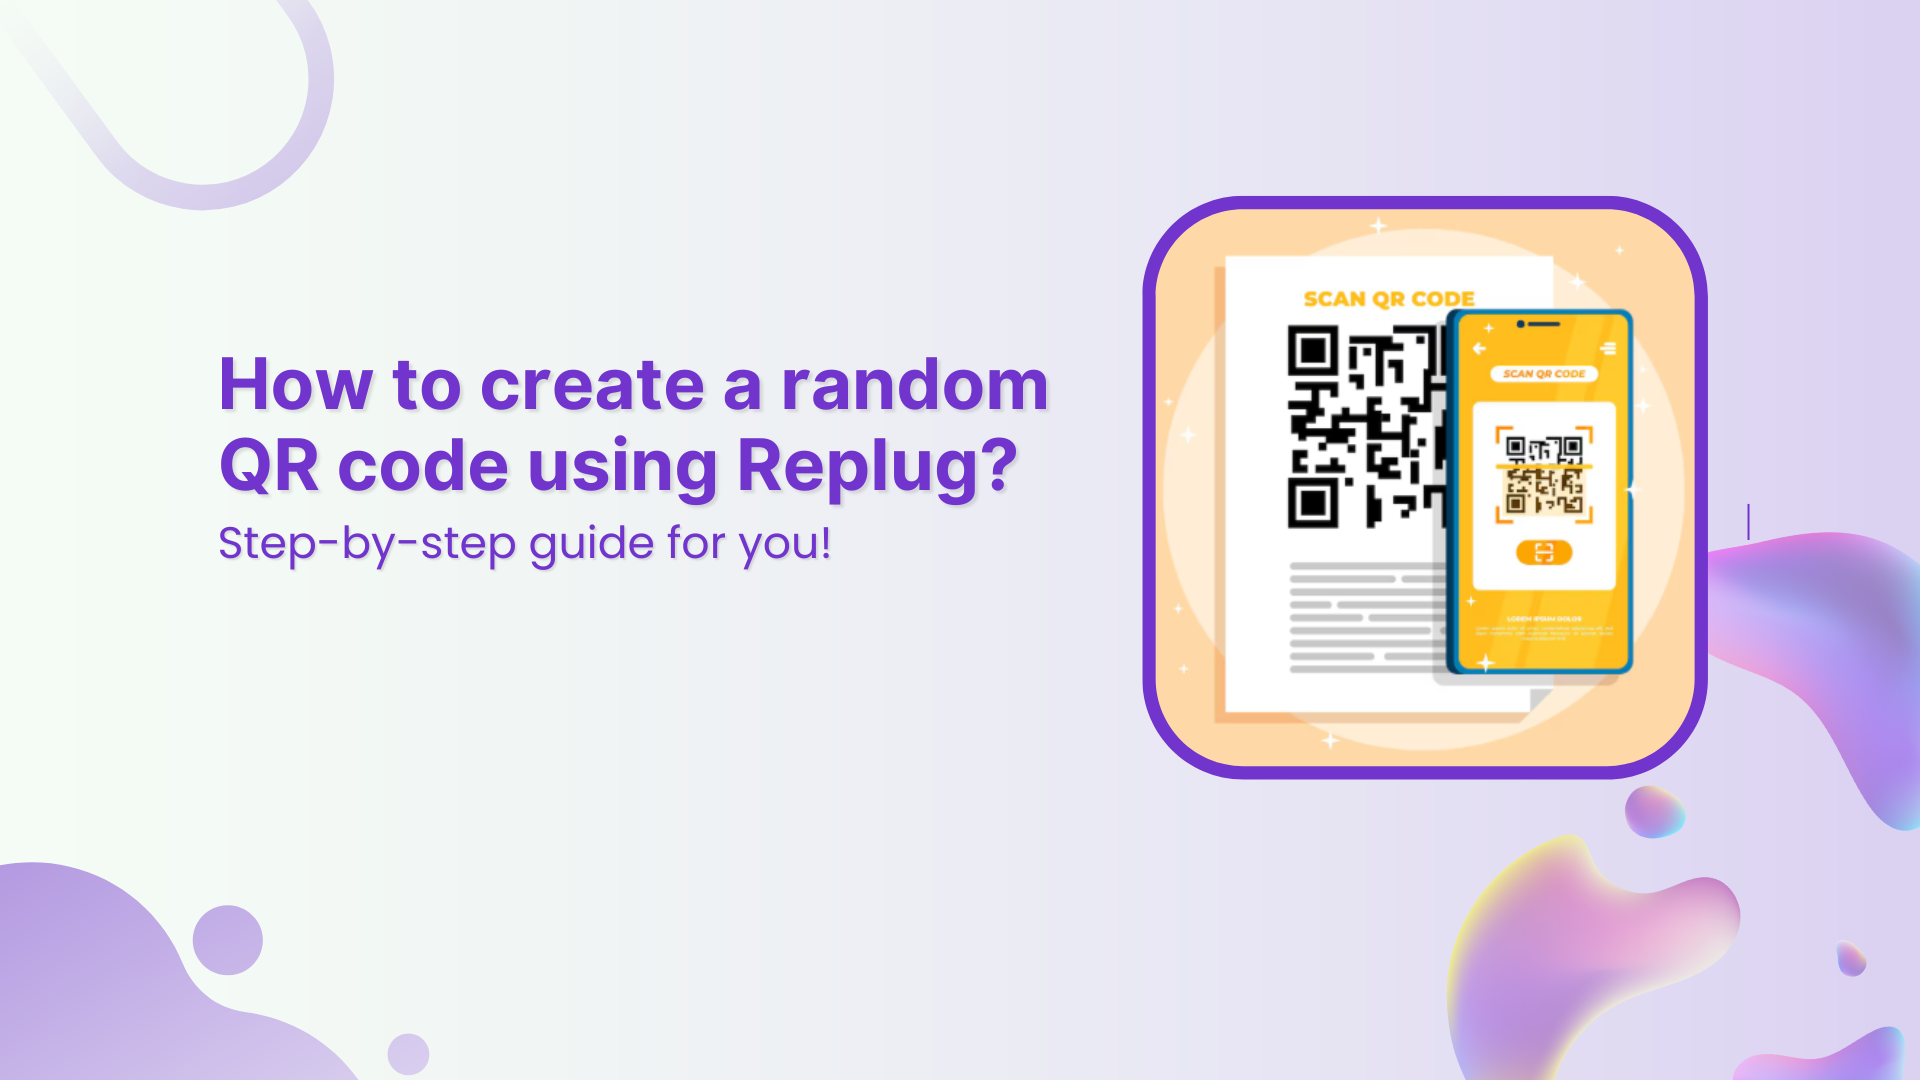
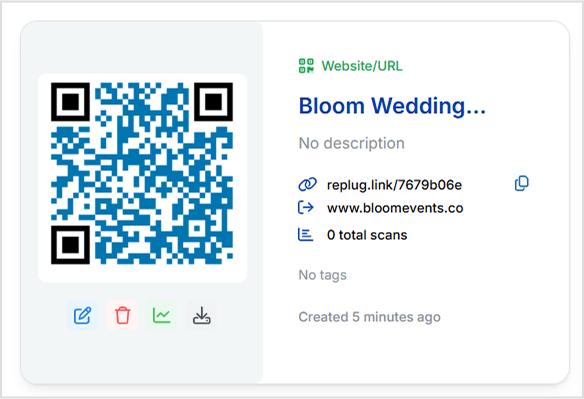
How to generate QR codes from WhatsApp short links
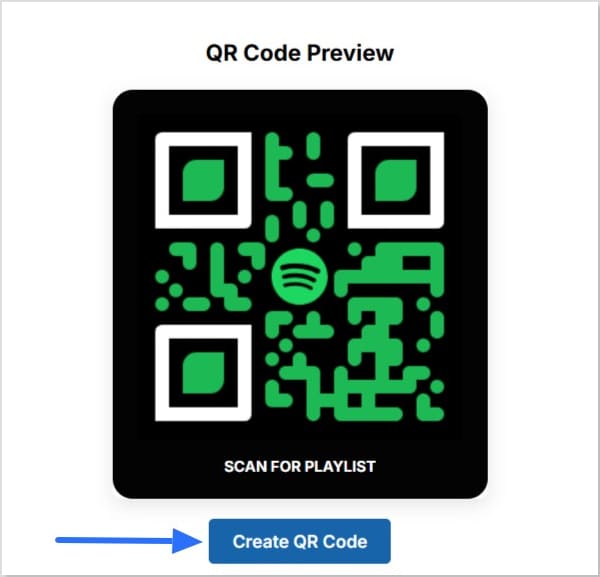
Sometimes links aren’t enough, especially in offline marketing. This is where QR codes shine.
By converting your WhatsApp short link into a QR code, customers can scan and chat with you instantly.
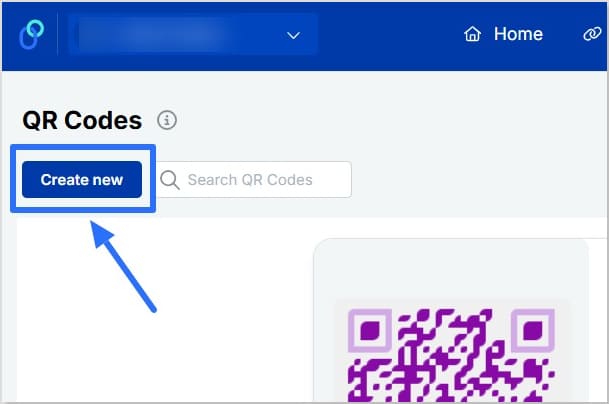
How to do it:
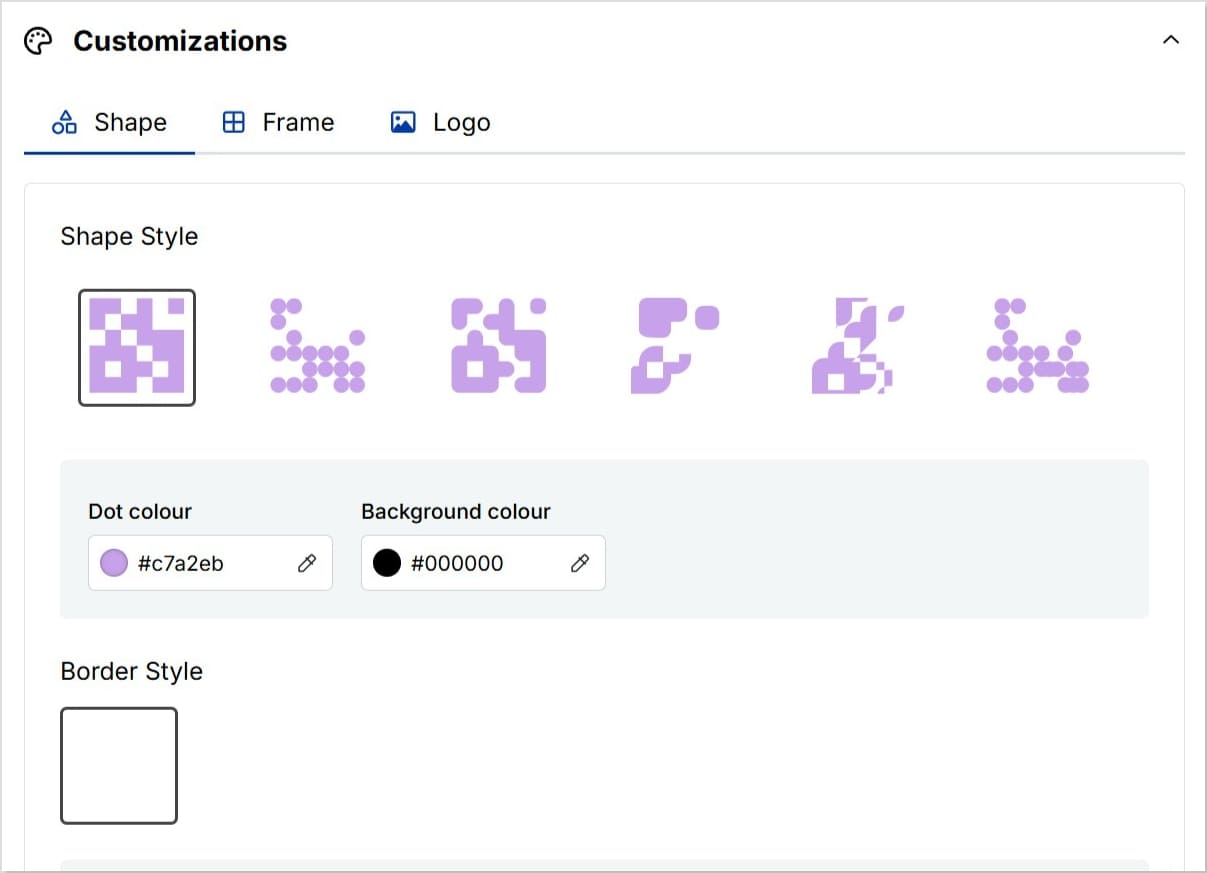
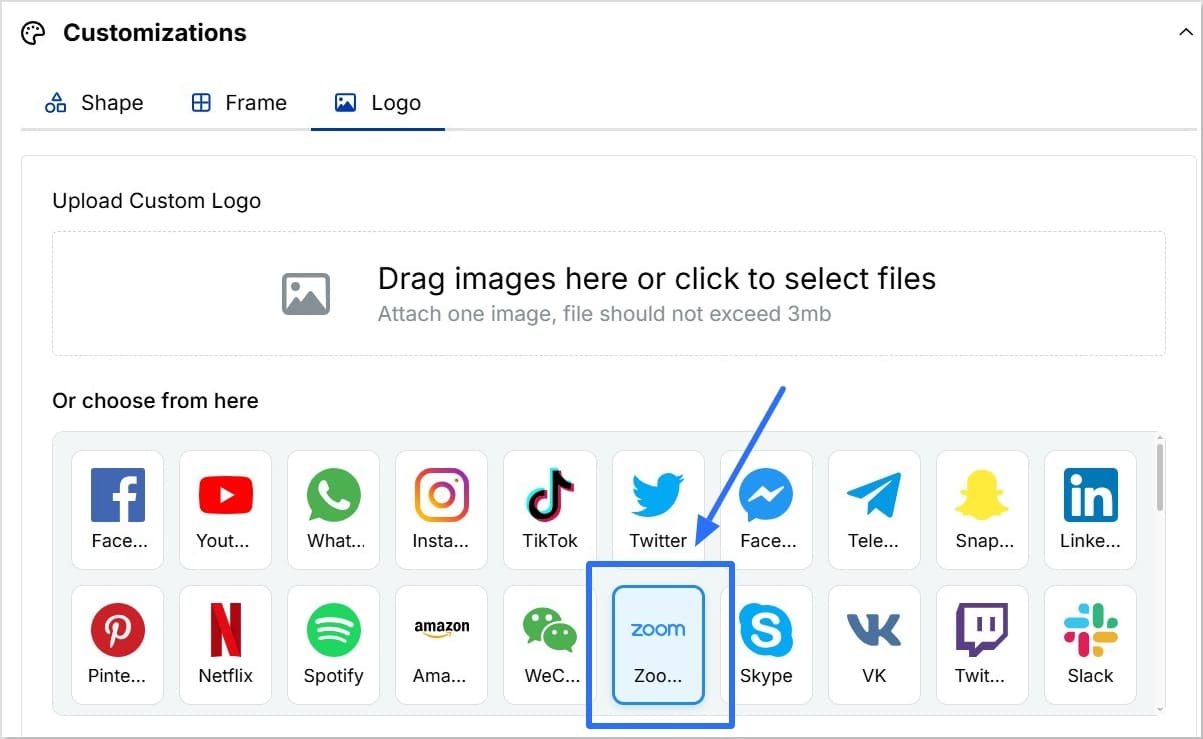
- Shorten your WhatsApp link with a tool like Replug.
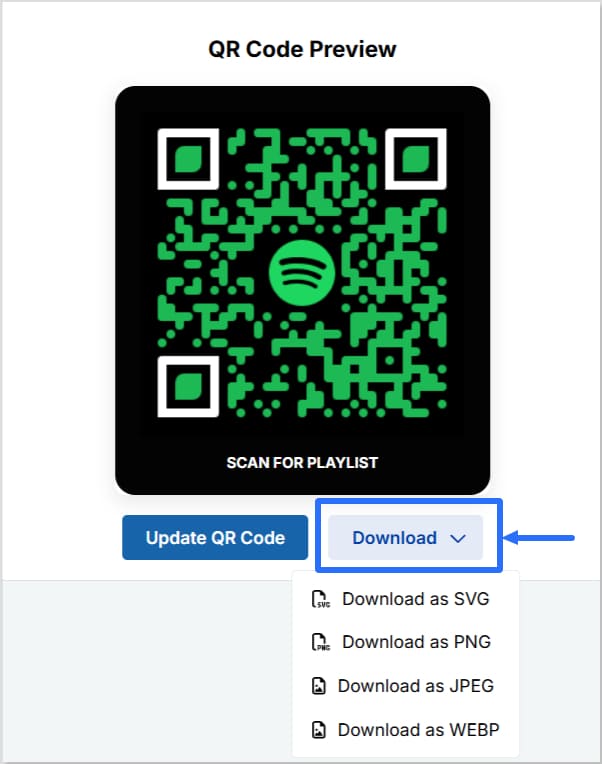
- Generate a QR code directly from your shortened link.
- Print and place it on:
- Flyers
- Posters
- Product packaging
- Storefront displays
Benefits:
- Connect offline customers to WhatsApp instantly
- Eliminate typing errors; just scan and chat
- Reuse the same QR code across multiple campaigns
QR codes also offer many other marketing benefits, which makes generating short links a smart move for any brand.
Common mistakes to avoid
While WhatsApp links are simple to create, businesses often make small mistakes that reduce their effectiveness:
- Using the local number format instead of the international
- Making the pre-filled message too long
- Not testing the link before sharing
- Overloading every post with the link (can look spammy)
- Forgetting to brand or shorten the link
Final thoughts
Creating a WhatsApp short link isn’t just about making communication easier, it’s about giving your business a direct, reliable way to connect with customers. In this guide, we’ve walked you through what short links are, how to create them manually or with Replug, where to use them, and the best practices to follow.
Now it’s your turn: set up your first WhatsApp short link, test it, and start turning casual clicks into meaningful conversations.
Frequently asked questions
How do I create a WhatsApp shortcut?
Open the chat you want, tap the three-dot menu (on Android) or swipe left on iPhone, and select “add chat shortcut” (Android) or “add to home screen” (iPhone). This creates a quick-access icon on your phone’s home screen.
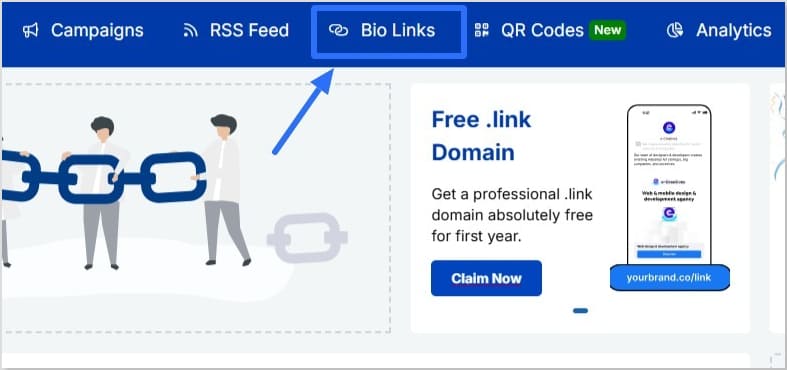
How do I add WhatsApp link on Instagram?
Go to your Instagram profile → Edit Profile → Links → Add External Link. Paste your WhatsApp short link and save. Now visitors can tap your bio to message you directly.
How do I add a WhatsApp link to my profile?
If you mean social profiles (LinkedIn, Facebook, TikTok, etc.): just paste your WhatsApp short link in the website/bio field. Some platforms even auto-convert it into a clickable button.
How to create a short WhatsApp group link?
1. Open your WhatsApp group → Tap group name.
2. Select “invite to group via link.”
3. Copy the link provided
4. If you want a cleaner version, you can shorten it using a URL shortener like Replug.