Adding a YouTube link to an Instagram story allows the user to share a video from YouTube on their Instagram story. This allows their followers to view the video directly from the Instagram story without leaving the app and going to YouTube.
It can also help direct more traffic to the YouTube video, increasing its visibility and gaining more views and engagement.
Here’s how to add YouTube links to the Instagram stories:
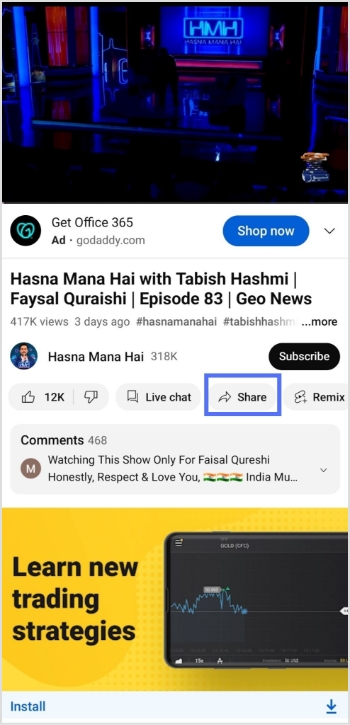
Step 1: Go to the YouTube app and play the video you want to share in Instagram Story.
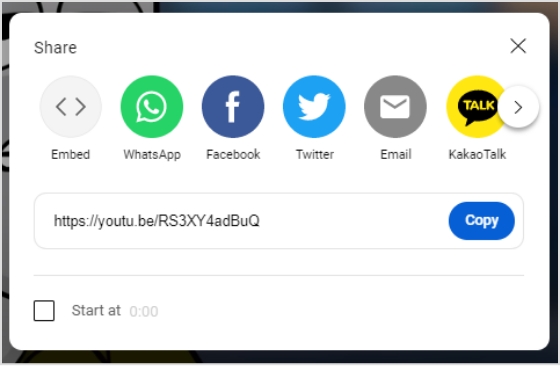
Step 2: Tap “share” right below the YouTube video.
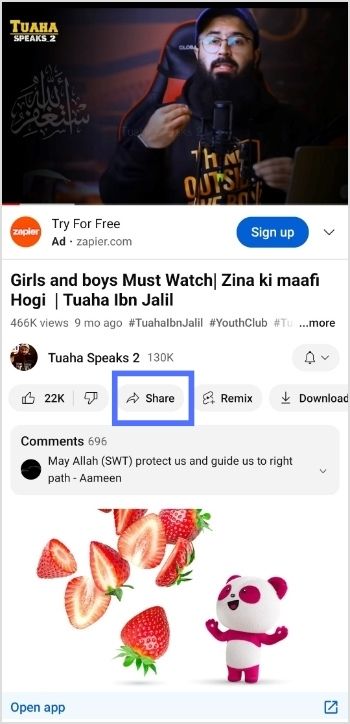
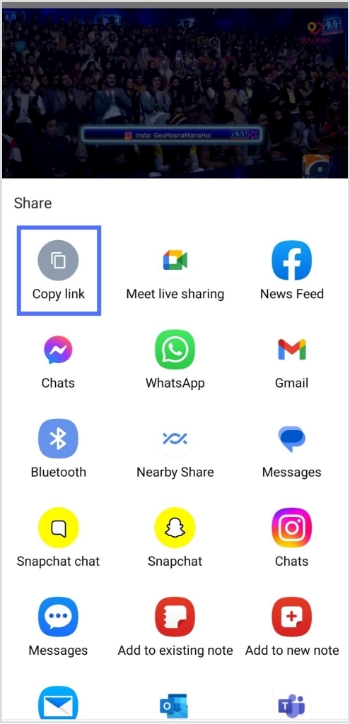
Step 3: Tap “copy link” to copy the link you want to share in the Instagram story.

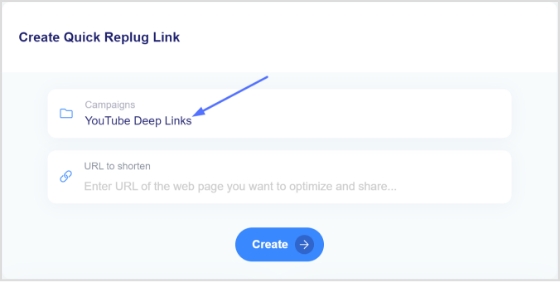
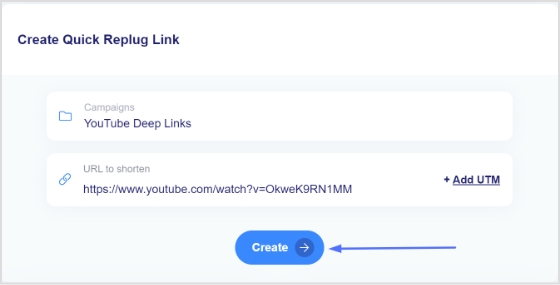
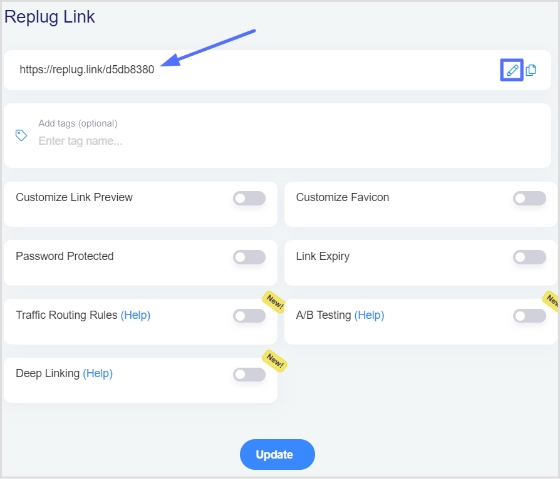
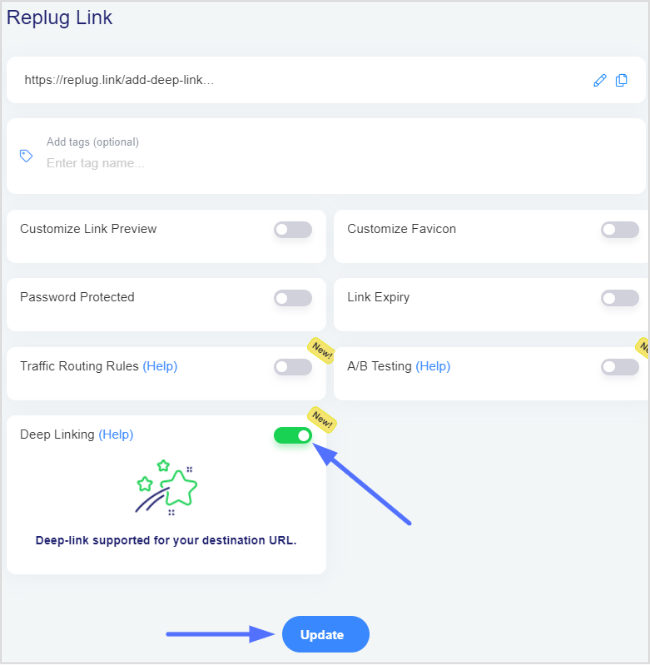
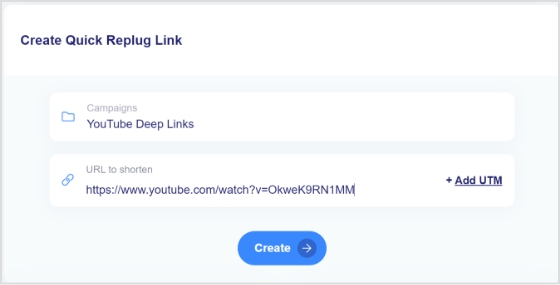
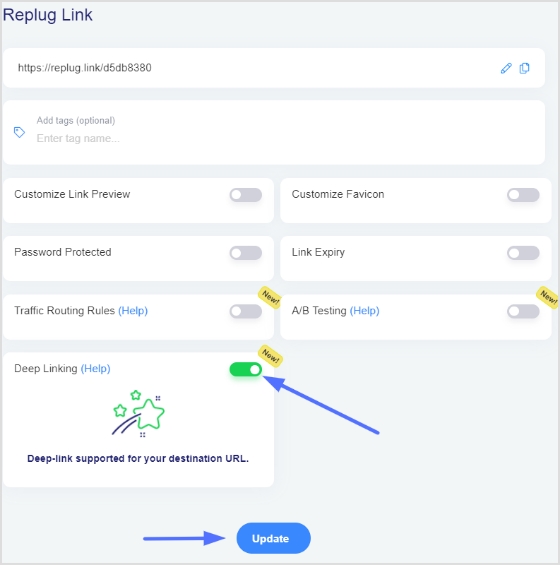
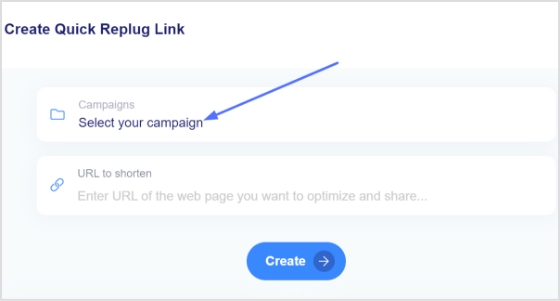
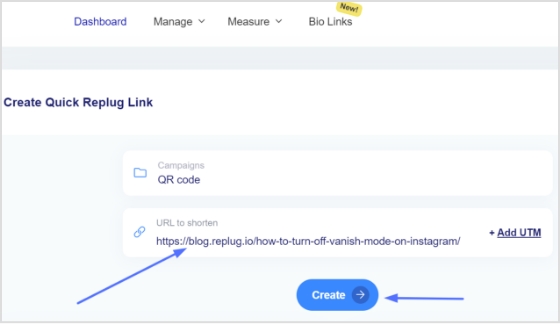
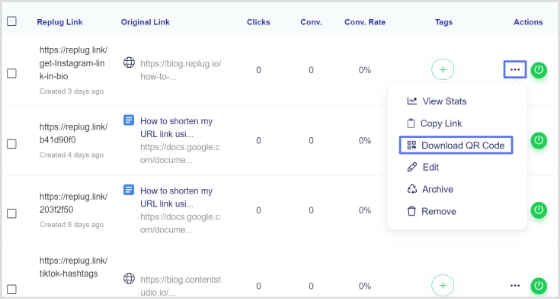
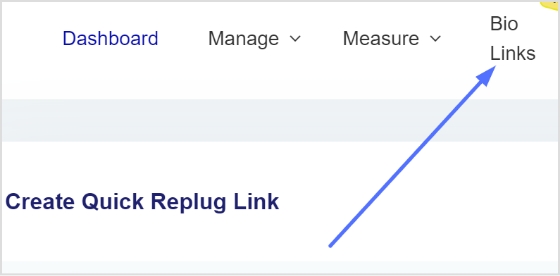
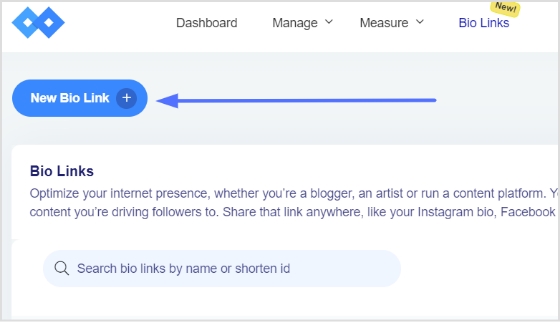
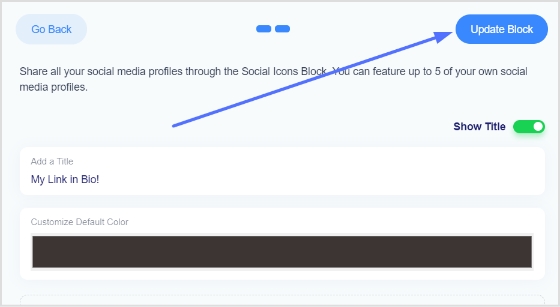
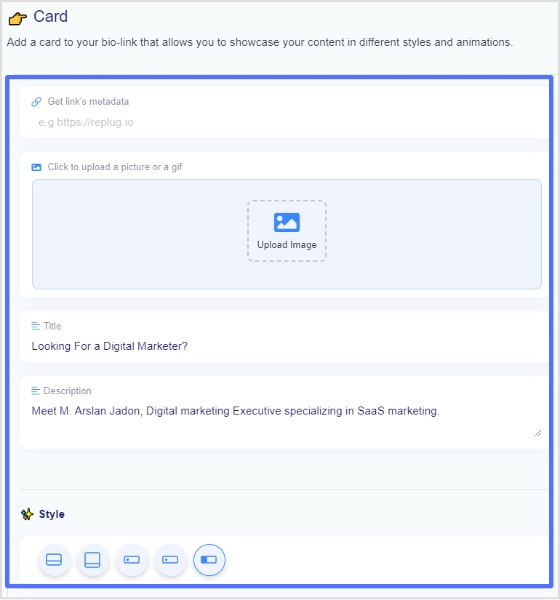
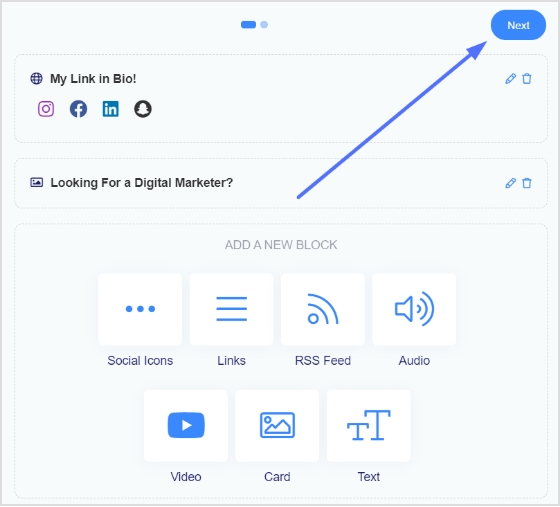
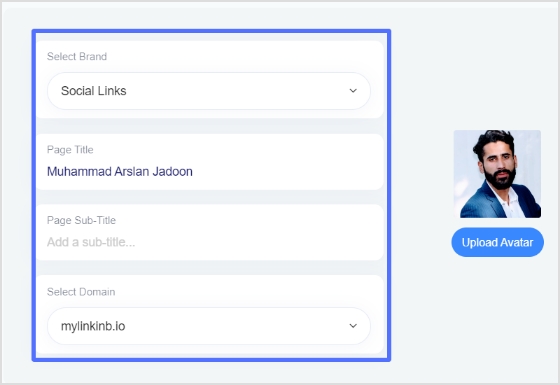
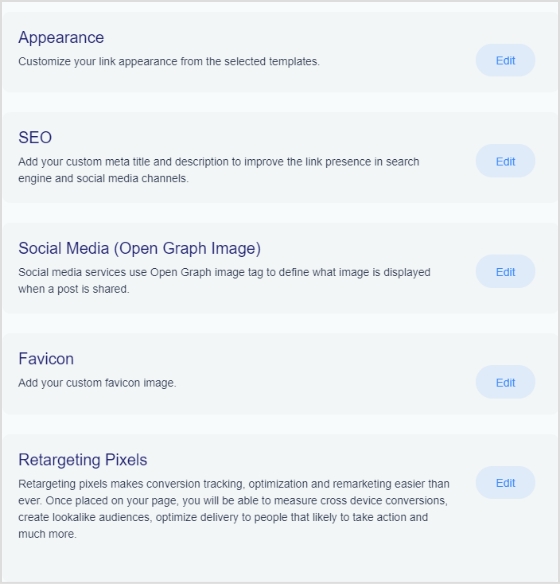
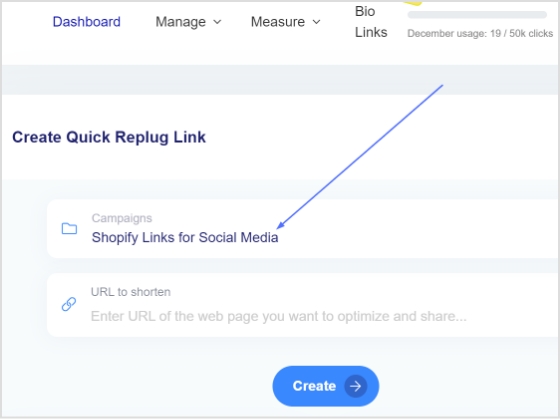
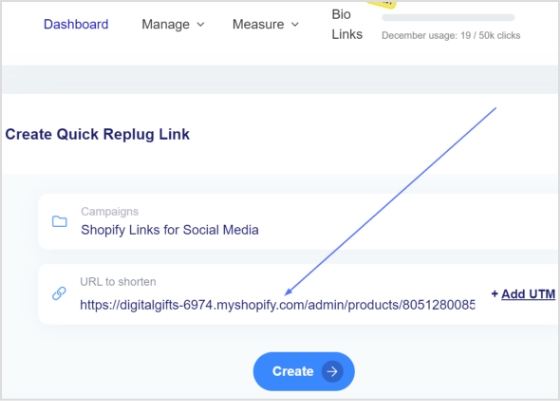
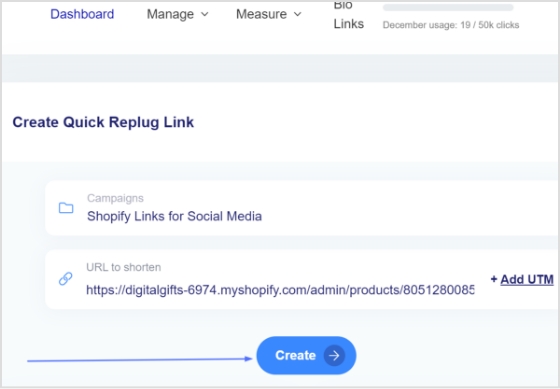
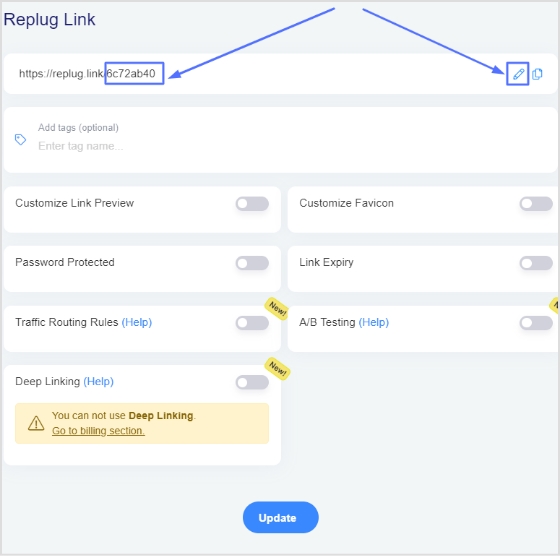
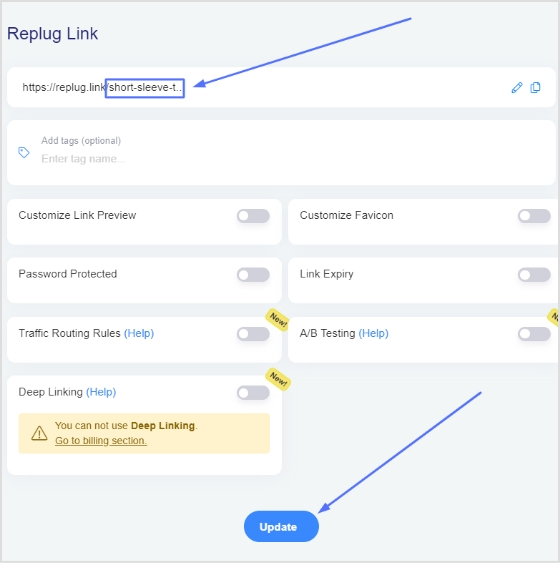
Note: Before pasting the URL into your Instagram story’s link sticker, you might want to shorten a link first for a cleaner, more shareable URL that looks better in your story and is easier for followers to click. Replug is the reliable link optimization platform to perform this task in the best possible manner.
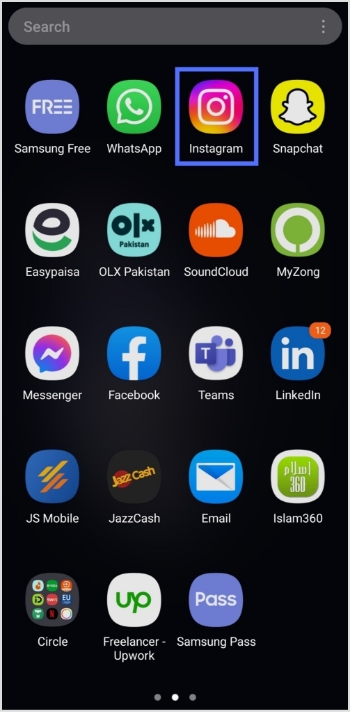
Step 4: Now open the Instagram app and tap the “profile icon’’ in the bottom right corner.
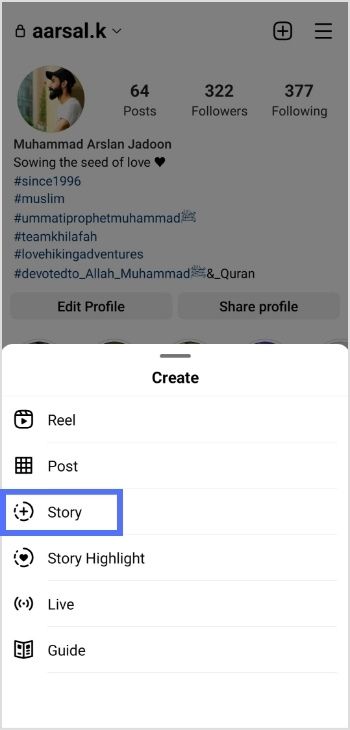
Step 5: Tap the “add (+)’’ sign in the top right corner.
Step 6: Tap “story” to add a new story.
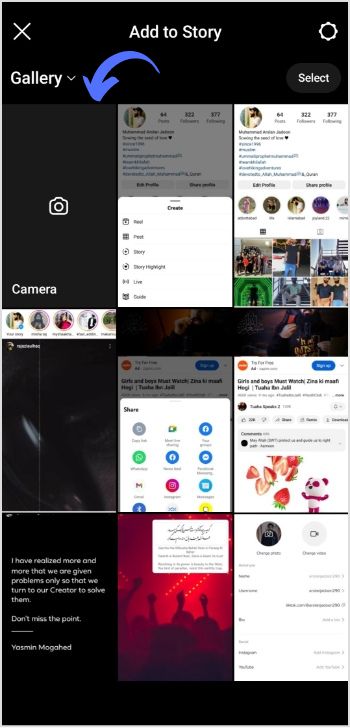
Step 7: Tap the “camera” from different gallery options.
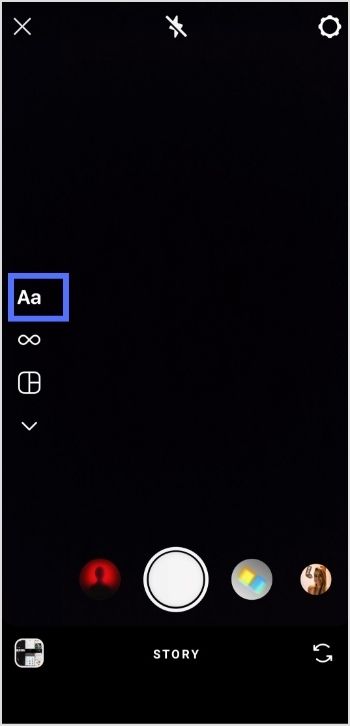
Step 8: Tap “create or Aa” for a new story.
Step 9: Tap the “sticker icon” from the screen’s top.

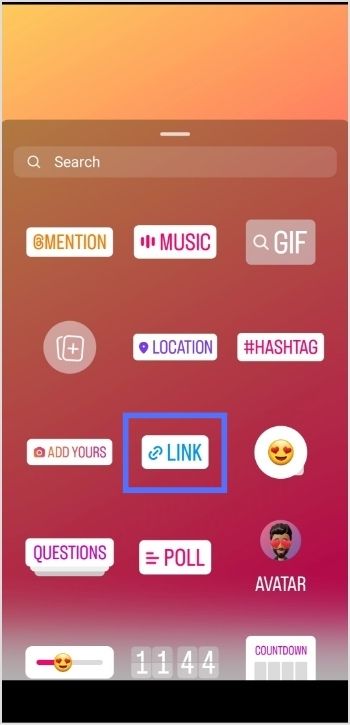
Step 10: Tap the “link sticker” from the options.
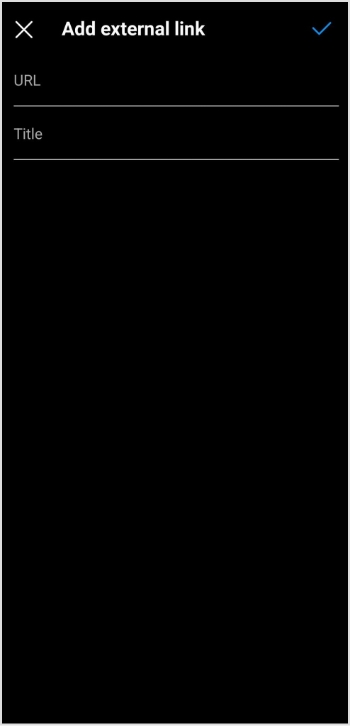
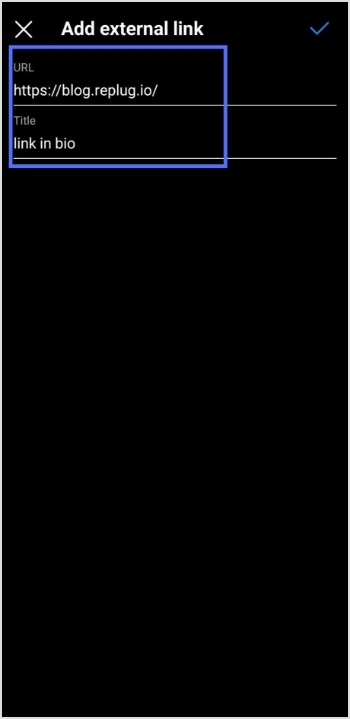
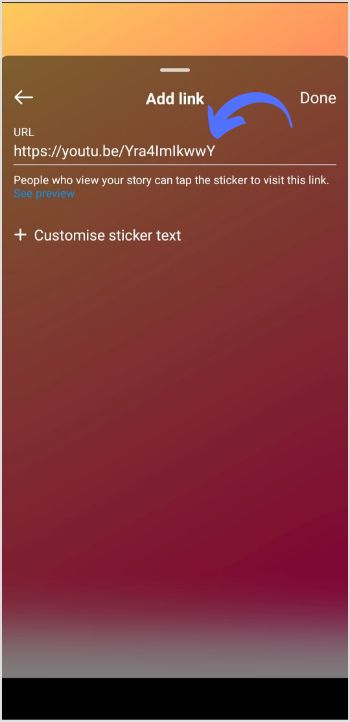
Step 11: Add link screen will open. Paste the YouTube video URL in the URL field and tap done.
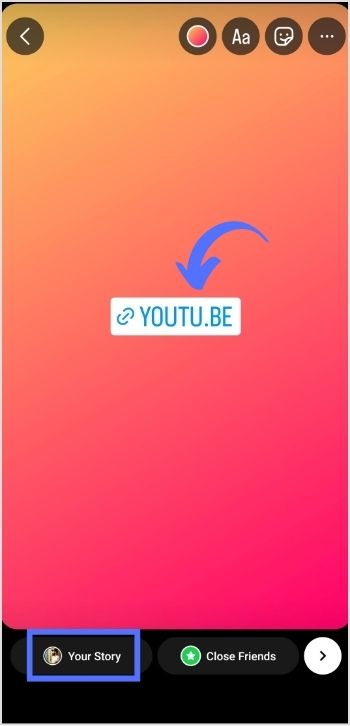
Step 12: Tap “your story,” and your YouTube video link will be posted in your Instagram stories.
Point to note:
Adding YouTube links to Instagram stories can increase the visibility and reach of YouTube content and drive more traffic to a YouTube channel. This can benefit creators looking to grow their audience and expand their brand. Additionally, it allows viewers to access and watch YouTube videos directly from the Instagram app, making the viewing experience more seamless and convenient. Adding YouTube links to Instagram stories can be a valuable strategy for growing a YouTube channel and engaging with viewers on both platforms.
Frequently asked questions
How To Put Youtube Link In Instagram Bio?
To add a YouTube link to your Instagram bio, you need to have a YouTube account. Also, the link to the YouTube video or channel you want to share. Once you have that, follow these steps:
1. Open the Instagram app and go to your profile.
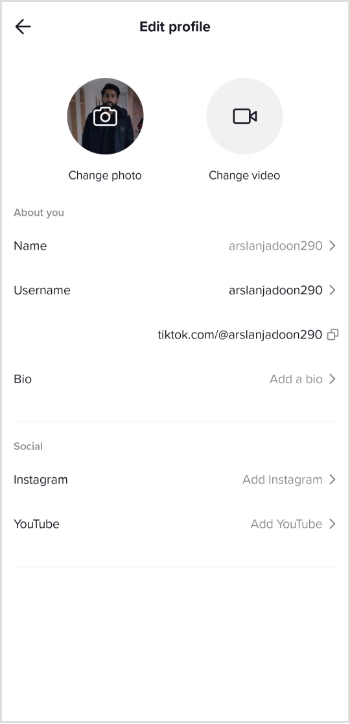
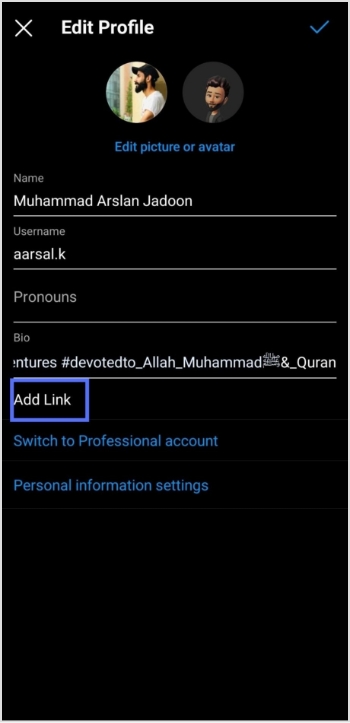
2. Tap the “Edit Profile” button.
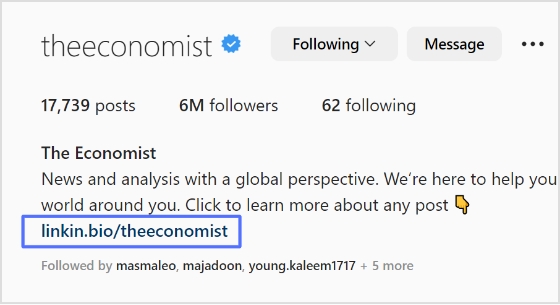
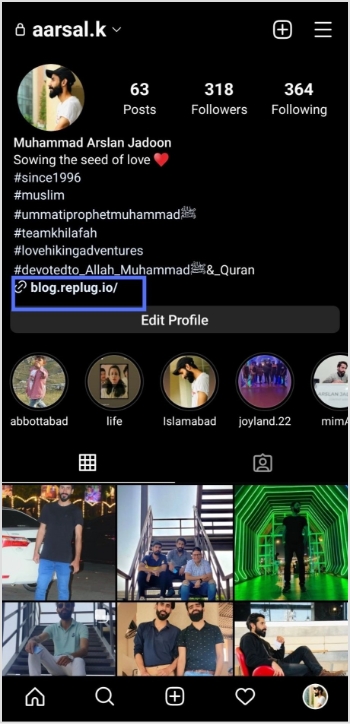
3. In the “Website” section, enter the link to the specific YouTube video or channel you want to share.
4. Tap “Done” to save the changes to your profile.
5. Return to your profile and see the YouTube link in the bio section.
Trending Now:
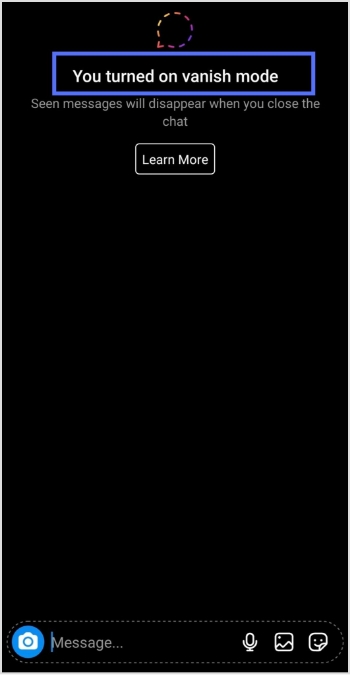
How To Turn Off Vanish Mode On Instagram?
How to Build Your Brand on YouTube; Branding on Youtube the Right Way!