Have you ever heard the phrase “leaving money on the table”?
Well, cart abandonment is somewhat similar – the customers leave the website without completing the transaction.
Bummer. Right?
Most e-commerce brands struggle with minimizing cart abandonment so that they can squeeze more money from their website traffic.
However, it doesn’t happen unless they have a bullet-proof strategy in place.
To fix the problem, one needs to come up with an excellent shopping cart abandonment email template that tempts the reader to get back to the website and complete the purchase process.
You’re about to learn:
- What is a cart abandonment email?
- Why do marketers send out cart abandonment emails?
- Why buyers abandon shopping carts in the first place?
- The best cart abandonment email templates to get inspiration from
- How to approach a prospect who has abandoned the cart
But first things first, you must know what the heck is cart abandonment email.
What is an abandoned cart email?
The abandoned cart email is the one that you receive in your inbox when you add a product to your shopping cart on an e-commerce website, but leave the site without completing the transaction.
The purpose of sending an abandoned cart email is to re-engage the customers who left the website without placing the order.
In some cases, e-commerce brands successfully convert those customers who left the website without buying by sending them the best-abandoned cart emails.
I’ve seen some SAAS companies send out a discount offer to website visitors who abandon the shopping cart on their website.
There could be several reasons why customers might abandon a shopping cart, for instance:
- Got distracted and left the website
- Found the product on a competitor’s website
- Changed their mind about buying it
The reason why it’s important to understand abandoned carts and reach out to those customers is that a customer with a buying intent would add a product to the shopping cart.
Such customers are way more valuable than those lurkers who click through your offers from social media ads but never end up buying anything.
So the next time you leave Target or Amazon’s website after adding a product to your shopping cart and receive an email reminder about that product, don’t be surprised.
Do abandoned cart emails work?
Most of the time, they do work unless you mess it up in the email newsletter formatting or send it out too late. No wonder it’s a widely adopted sales strategy. It looks like a lot of brands recover lost sales through abandoned cart emails.
Statistics by Moosend are clear proof that abandoned cart emails actually convert.
- Cart abandonment emails exhibit impressive engagement statistics. They achieve open rates of over 40%, occasionally even reaching a remarkable 45%.
- Furthermore, half of these abandonment emails are not just opened but also clicked on, with 21% of the opened emails resulting in click-throughs.
- The most compelling fact is that 50% of the users who click through these emails go on to complete their purchase. In essence, half of the recipients who engage with the email content ultimately make a purchase, underlining the effectiveness of these campaigns in converting potential customers into buyers.
What do you write in an abandoned cart email?
There is a not rocket science. You have to quickly explain to the customers where they left off when shopping on your website. Showcase the product they added to the cart, and place a CTA button that takes them straight to the shopping.
10 abandoned cart email examples to learn from
Let’s take a look at some of the best-abandoned cart email templates that work for businesses:
1. Fiverr
Fiverr is quick to send out an email to buyers who search for a specific gig but never end up placing an order on the platform.
The freelancing platform finds a bunch of relevant gigs and emails to the buyer. Here’s what I got when I searched for dog-related gigs while doing some research on the platform:

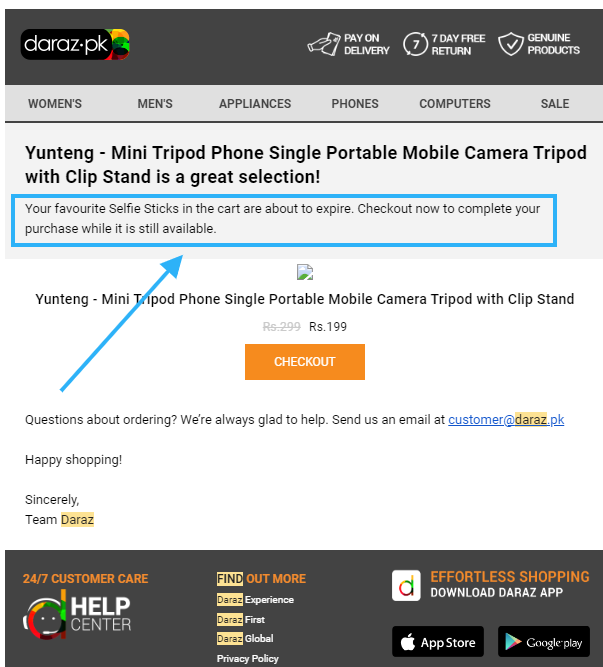
2. Daraz
Daraz is a popular e-commerce website in Pakistan. It was acquired by Alibaba in 2018. Here’s how Daraz sends out emails if you abandoned carts on their platforms.
Here’s what I found:
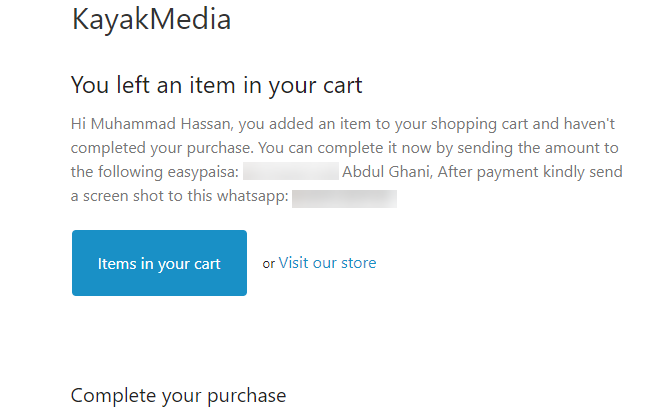
3. Kayak Media
Kayak Media is a software company that makes small software.
I once wanted to test out one of their softwares, but somehow, I didn’t go through the purchase process.
Then I received this cart abandonment email which sounds about right:
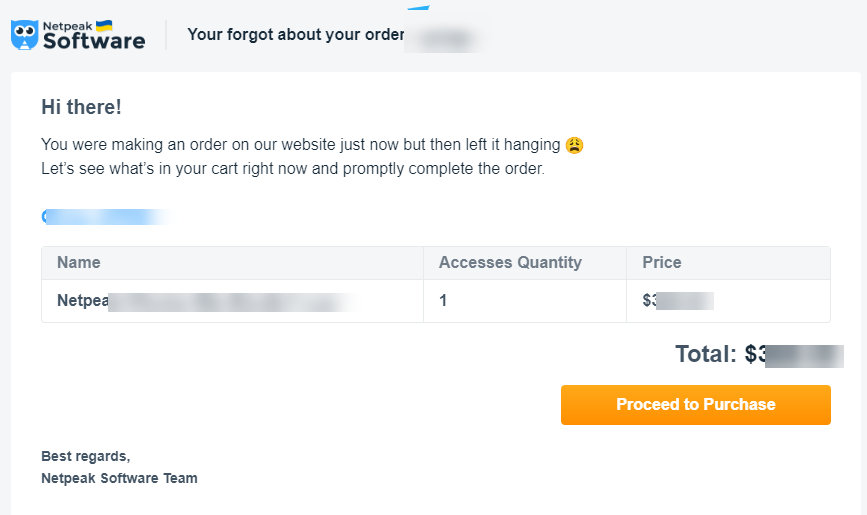
4. NetPeak Software
Netpeak is yet another software company that immediately sends out cart abandonment emails if you don’t complete the purchase process. Here’s an example:
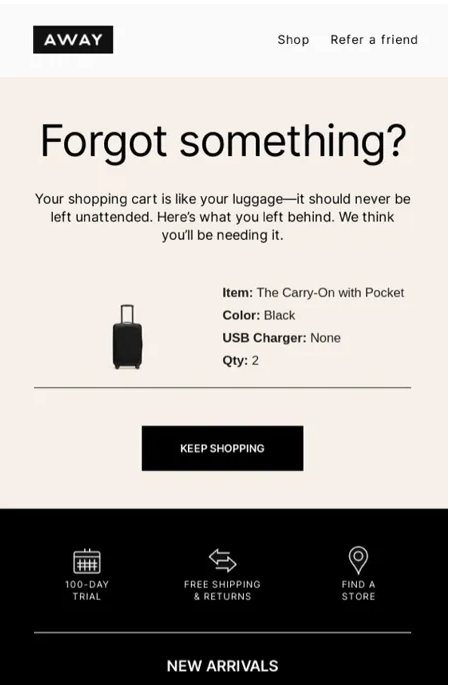
5. Away
Away is an e-commerce website that sells travel and fashion accessories. I stumbled upon their abandoned cart email template while researching this topic. Here’s what their abandoned cart email looks like:
You May Also Like : Retargeting ad examples that convert & drive growth
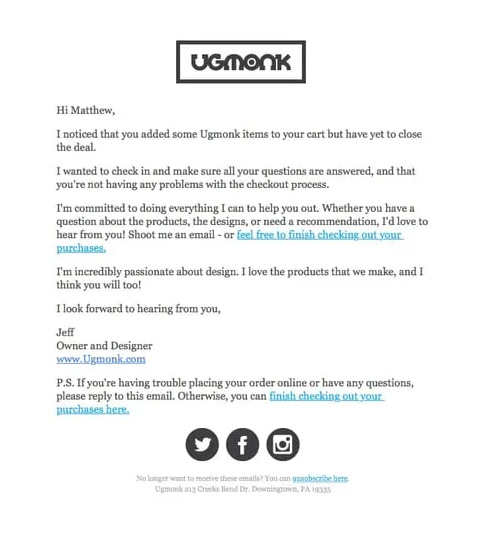
6. Ugmonk
Ugmonk is a desk accessories e-commerce store that sells aesthetically pleasing and classy office and desk accessories. They send out abandoned cart emails in style as well:
You May Also Like: 08 best retargeting platforms to retarget your potential audience
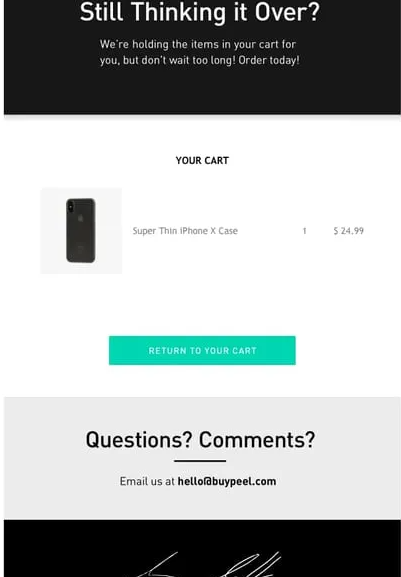
7. Peel
Peel is a well-known brand in the phone case space. They sell all sorts of iPhone and Android phone cases. They also send out cart abandonment emails if you don’t complete the purchase and leave their website. Here’s how they send out a reminder via email:
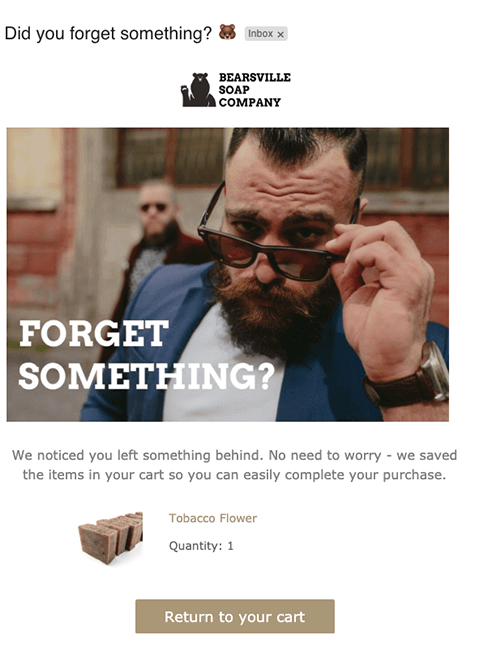
8. Bearsville Soap Company
Bearsville Soap Company has an interesting approach to sending out abandoned cart emails. They have a brief email copy with a CTA that says, “Return to your cart.”
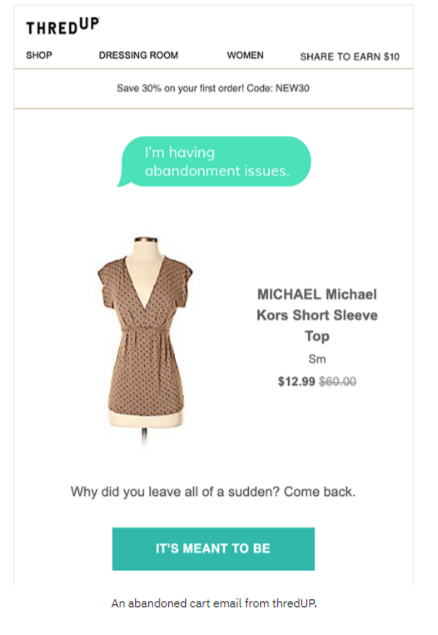
9. ThredUp
ThredUp comes with a straightforward message in their abandoned cart. They have several things added to their abandoned cart email, for instance, discounted prices, coupon codes, and the CTA.
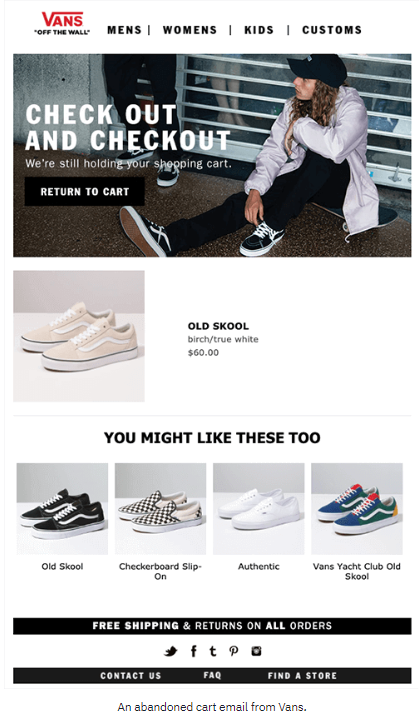
10. Vans
Vans is a footwear brand that sells sneakers for kids, women, and men. They adopted a unique yet interesting approach in their abandoned cart email. They quickly remind the customers who abandoned the cart that they’re still holding the shopping cart for them.
Plus, they go on to mention the products that the customer might also like, which is quite an ambitious approach.
These were some of the examples of abandoned cart newsletters which were using unique and diverse email newsletter templates to attract, re-engage, and convert abandoned visitors. Sure, marketers could take away a lot from these newsletter examples.
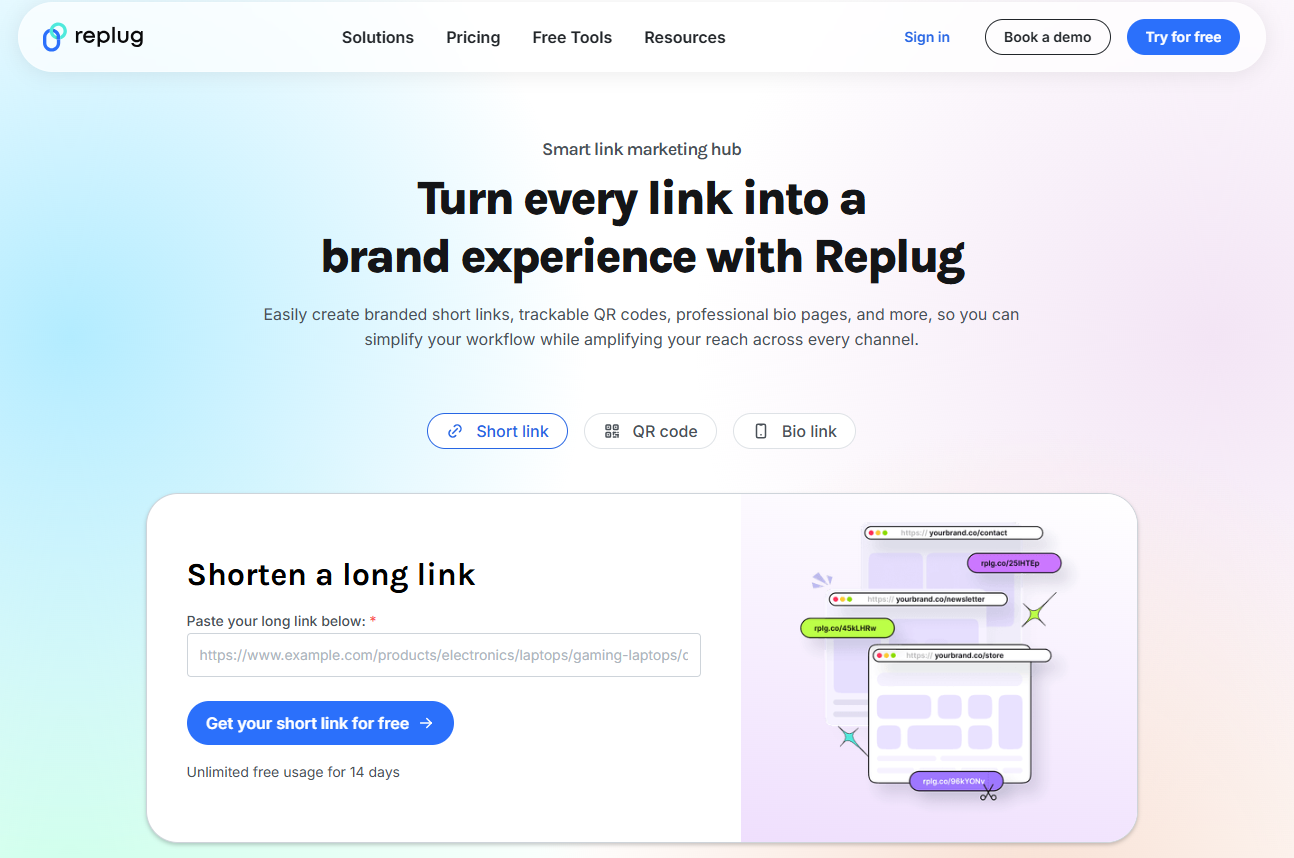
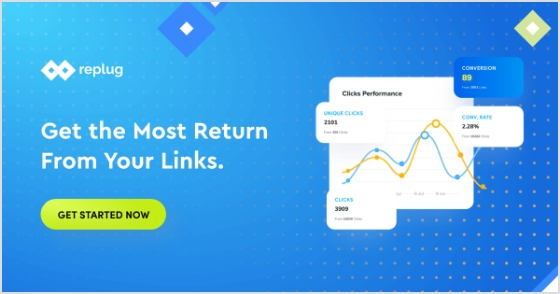
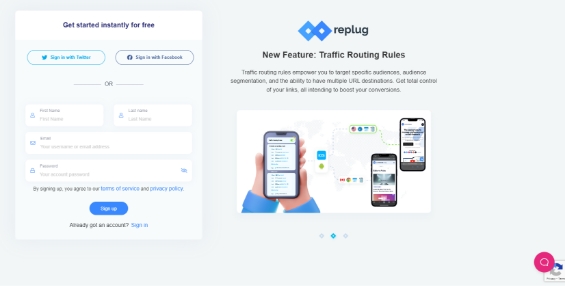
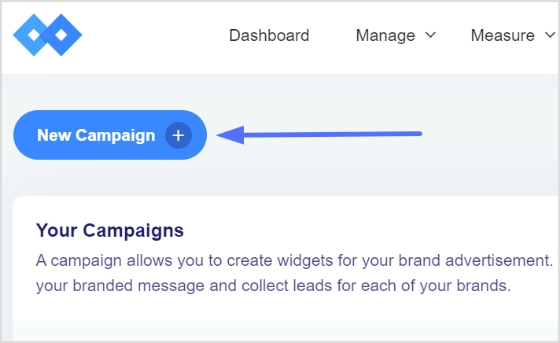
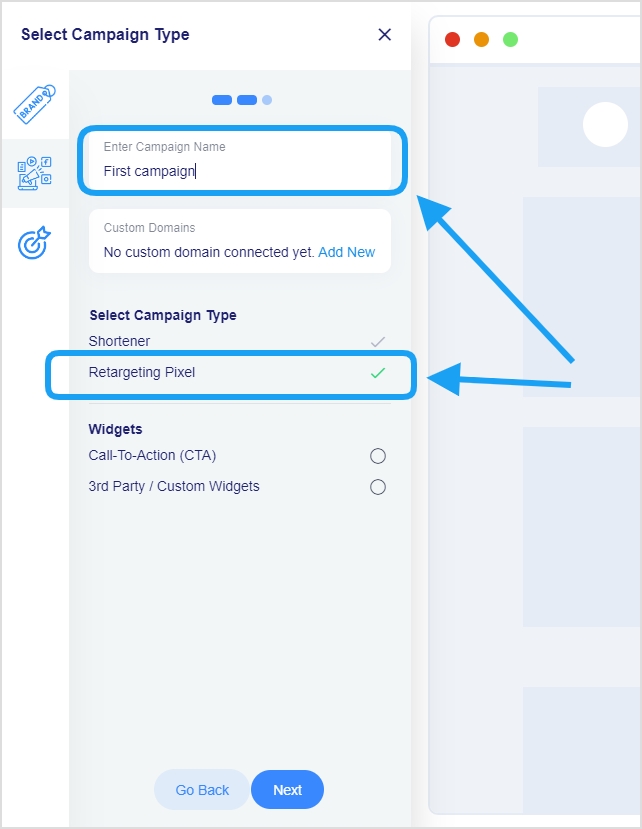
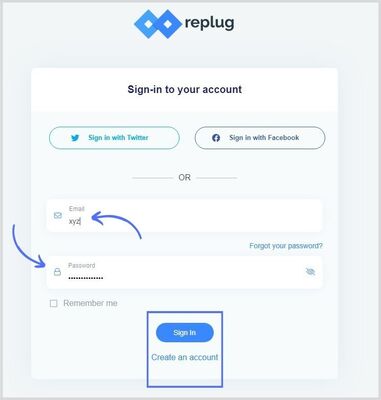
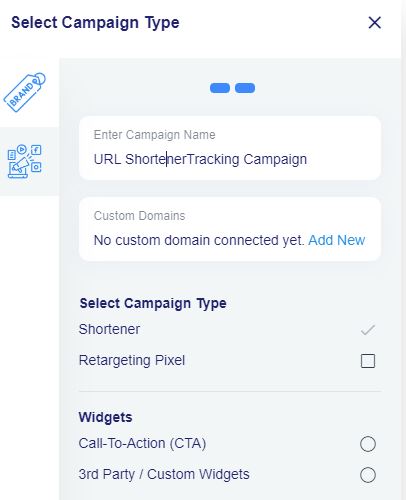
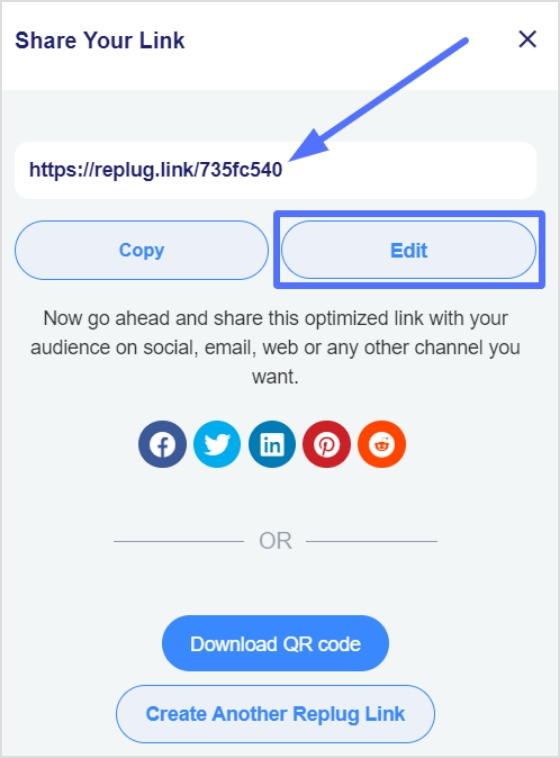
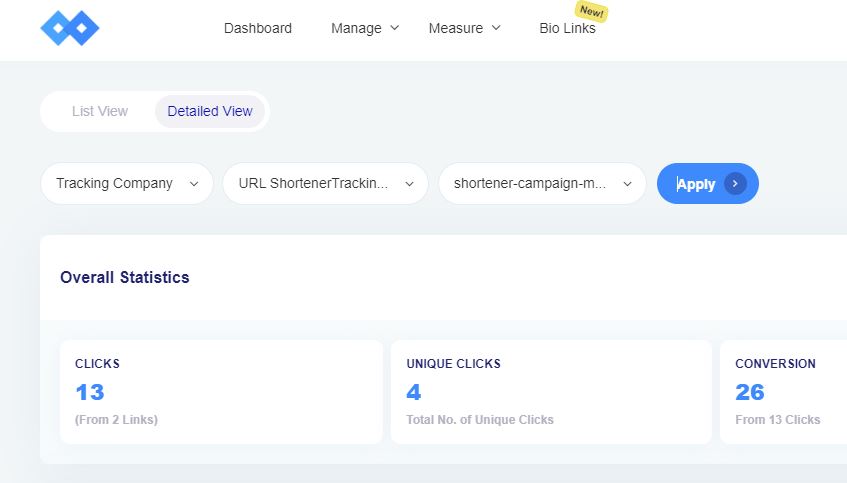
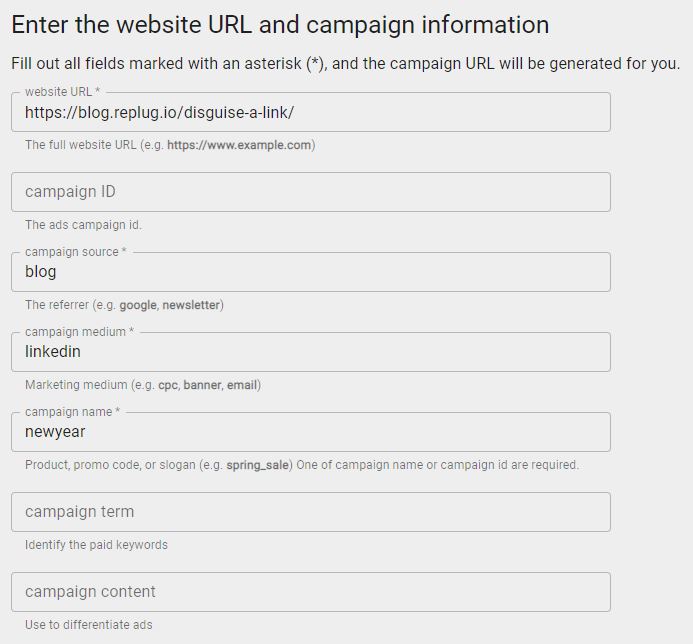
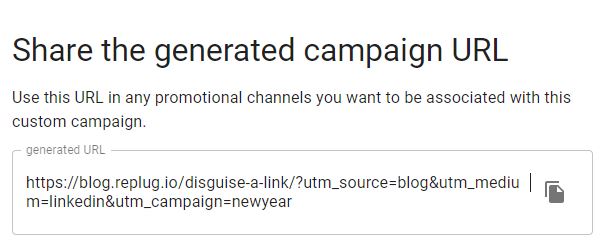
Note: If you handle multiple campaigns and want full control over how your links are shared, tracked, and retargeted, Replug is a comprehensive solution that simplifies link management for modern e-commerce marketers.

Moreover, by using a branded custom URL shortener, you can generate neat, memorable links for your cart-recovery emails, improving link click rates, brand recall, and overall campaign performance.
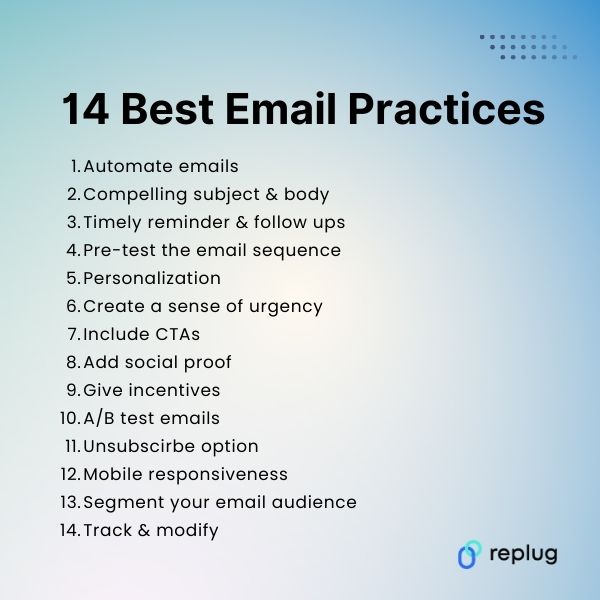
Abandoned Cart Email Best Practices
Wondering how do I email someone who’s abandoned a cart?
If you’re curious about emailing customers who have abandoned the shopping cart and are not sure what to do or say, then this section might come in handy.
Compliance with the best practices will give you better results in turning cart abandoners to customers.
Without any further ado, let’s get right into it:
1. Set up the email automation
Email automation is the process of setting up an email sequence that sends out a series of emails to customers depending on the situation.
When a customer signs up on an e-commerce website, usually the first email that comes through is an account verification email. Similarly, when a purchase is made by the user, a confirmation email goes out to the customer.
So most e-commerce platforms seamlessly integrate with email marketing softwares and allow merchants to send out abandoned cart emails.
To get started with sending abandoned cart emails, simply set up an email sequence in your e-commerce platform or email marketing software to get going.
You May Also Like: How to increase sales on Shopify: 25 winning strategies
2. Opt for an email newsletter template
An email newsletter template is an email theme that a sender uses to compose and design the email message.
Keep in mind that most e-commerce businesses go for a fancy email newsletter template when setting up an abandonment cart email.
While an attractive email newsletter template could attract the customers to take action, it could also create a hurdle in engaging the customers.
The reason is that sometimes the email services block out the email template and notify the email receiver to unblock the template if they want to.
This could impact the clickability of the email and divert the attention of the customer to somewhere else. Similarly, a text-only email doesn’t appeal to the customers to take any section.
Therefore, it’s necessary to find a middle ground where you use an email newsletter template that increases the click-through rate of your email.
3. Write a compelling email subject and body
The email subject line and the in-body message are essential parts of the email. No matter how good your offer is, it won’t work out unless you don’t get the email subject line and body right.
The subject line of your cart abandonment email is the gateway to engagement. This can be achieved through various techniques, such as humor, creating a sense of urgency, or utilizing personalized language.
Writing a compelling email subject and body would significantly help you succeed in generating sales from abandoned carts. Whereas, the body of the email message would convince readers to take action or ignore it altogether.
There has always been a debate about the length of the email newsletters. Some believe that it has to be short, sweet, and brief as a well-crafted subject line entices recipients to open the email and explore its contents further. Whereas, a lot of marketers prefer to send out in-depth email newsletters.
Moreover, a catchy and attractive email subject line would massively impact your abandoned cart email open rate.
4. The first email reminder:
The first email should ideally be dispatched within an hour or two of cart abandonment. At this point, the shopper’s interest is at its peak, making them more likely to return and complete the purchase.
Subsequent reminder emails can be strategically spaced out over a few days or a week to gently encourage the customer to take action without bombarding them with messages.
5. Test out the email sequence
It’s vital to do testing before you move on to the next thing. Don’t shy away from sending out a few test email sequences to yourself to be 100% sure about this.
If you don’t test your abandoned cart email sequence, you’ll never know what customers receive when they abandon the cart.
6. Follow-up sequences:
Achieving the right balance in terms of email frequency and timing is crucial. While follow-up emails are effective, sending too many in quick succession can irritate recipients. Experiment with different timing strategies to identify what resonates best with your audience without inundating them with reminders.
A series of follow-up emails can be a powerful strategy if the initial reminder email doesn’t lead to a conversion. These subsequent emails can build upon the previous messages, progressively strengthening the offer or message. By providing additional incentives or addressing specific objections, you increase the likelihood of convincing hesitant shoppers to complete their purchase.
7. Clear & compelling content:
The content of your cart abandonment email should be clear, concise, and compelling. It should remind the shopper about the items they left behind, emphasizing the unique benefits of those products. Explain why completing the purchase is an excellent decision, using persuasive language and complementing your message with high-quality images of the products. The aim is to reignite the shopper’s interest and urgency to buy.
8. Personalization:
Personalization adds a human touch to your emails. It involves addressing the recipient by their first name and referencing the specific items left in their cart. This level of personalization can significantly increase engagement because it demonstrates that you’re paying attention to their preferences and needs.
You May Also Like: Top 29 personal branding tools to upscale your marketing efforts
9. Urgency and scarcity:
Urgency and scarcity tactics can create a sense of FOMO (fear of missing out). You can implement these tactics by mentioning limited stock quantities or including countdown timers for discounts or promotions. These elements encourage recipients to take prompt action, fearing they may miss out on a great deal.
10. Call-to-Action (CTA):
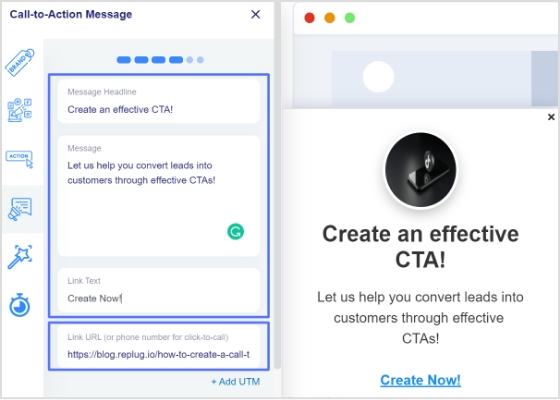
The call-to-action (CTA) is the key element that prompts recipients to take action. It should be clear, visually striking, and placed prominently within the email. The CTA button should guide the recipient directly back to their abandoned cart or the checkout page. Use action-oriented language in the CTA, such as “Complete Your Purchase” or “Get Started Now,” to motivate immediate action.
11. Incentives:
Incentives are powerful tools to entice shoppers to return and complete their purchase. Common incentives include limited-time discounts, free shipping, or complimentary gifts. To maximize the effectiveness of incentives, ensure they are directly relevant to the items left in the abandoned cart. Additionally, clearly communicate the urgency of these incentives to drive immediate action.
12. Mobile responsiveness:
Given the prevalence of mobile shopping, it’s imperative that your cart abandonment emails are mobile-responsive. Mobile-responsive design ensures that your emails display correctly and are easy to navigate on smartphones and tablets. To ensure compatibility, thoroughly test your emails on various devices and email clients to guarantee a seamless experience for all recipients.
13. Segmentation:
Segmentation is a strategic approach to dividing your email list into distinct groups based on customer behavior, purchase history, and the value of the abandoned cart. Once segmented, you can tailor your email messaging to suit the unique preferences and needs of each group. This level of personalization can significantly enhance engagement and conversion rates.
14. Social proof:
Social proof is a psychological phenomenon that influences behavior. In your cart abandonment emails, you can leverage social proof by showcasing positive reviews, testimonials, or product ratings from satisfied customers. By highlighting the experiences of others, you build trust and demonstrate the popularity and quality of your products, making recipients more inclined to complete their purchase.
15. Privacy and trust:
In an age of heightened concern for data security and privacy, assuring customers of their information’s safety is paramount. In your cart abandonment emails, display trust symbols, security badges, and contact information prominently to instill confidence. By addressing these concerns, you build trust and reduce potential barriers to completing the purchase.
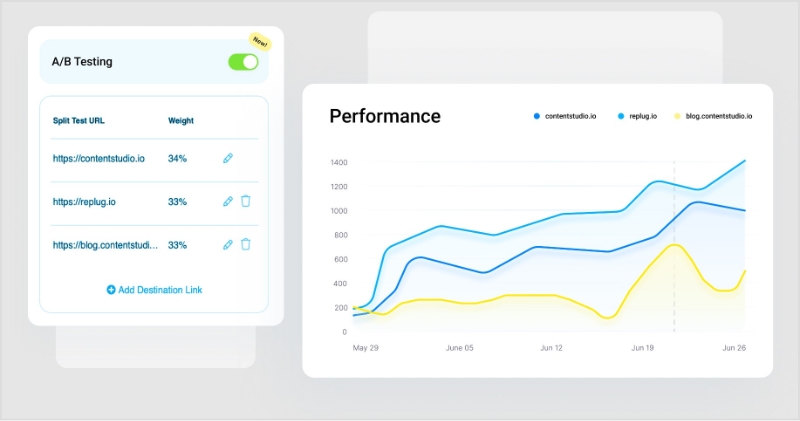
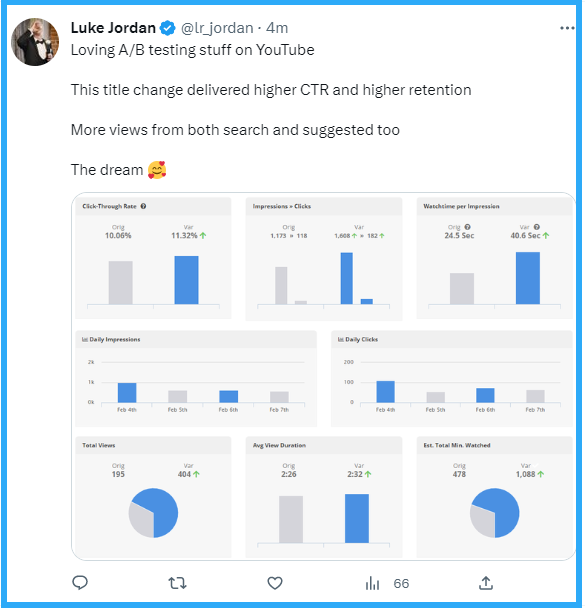
16. A/B Testing:
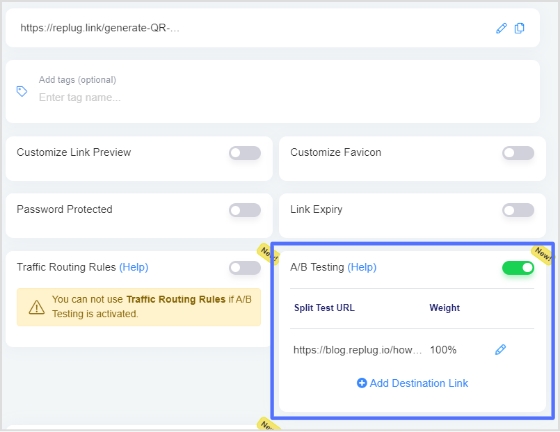
A/B testing, also known as split testing, is a method of experimentation where you compare two versions of an element within your emails to determine which performs better. This can involve testing different subject lines, email content, CTA buttons, or incentives. A/B testing is an ongoing process that allows you to fine-tune your emails and optimize their performance based on data-driven insights.
You May Also Like: How to do A/B testing the easy way: step-by-step guide
17. Customer support:
Providing accessible customer support options in your cart abandonment emails demonstrates your commitment to customer satisfaction. Include easy-to-find contact information or a chat option for recipients who may have questions or need assistance. A responsive and helpful customer support system can contribute to higher satisfaction levels and increased conversions.
18. Opt-out option:
Including an opt-out or unsubscribe option is both a best practice and a legal requirement to comply with email regulations. This feature allows recipients to stop receiving emails if they no longer wish to be contacted. Respecting recipients’ preferences is not only ethical but also important for maintaining a positive brand reputation.
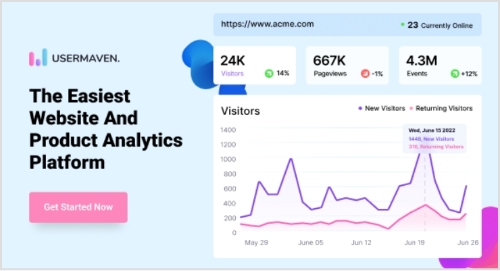
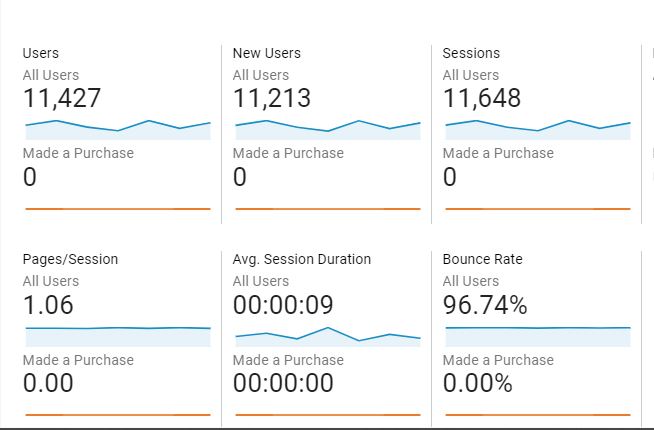
19. Analytics and monitoring:
Leveraging analytics tools is essential for tracking the performance of your cart abandonment email campaign. Key metrics to monitor include open rates, click-through rates, conversion rates, and the revenue generated from the campaign. By closely analyzing these metrics, you gain valuable insights into the effectiveness of your strategy and can make informed adjustments.
FAQs About Abandoned Cart Emails
Let’s shed some light on the frequently asked questions about abandoned carts:
How many abandoned cart emails should I send?
There is no right or wrong way of doing this, especially when it comes to the number of emails one should send out when a customer abandons the shopping cart. Most brands send out one email to remind customers to complete the transaction. However, some brands send up to three abandoned cart emails.
How to keep unwanted emails away?
There are several settings available in the user account settings area on almost every e-commerce platform. Users must go through the settings and alter the settings for notifications, promotional offers, and emails. That’s the perfect way to keep unwanted emails away from your inbox.
Is it legal to send abandoned cart emails?
An abandoned cart email is just another email newsletter that you send to your customers. Make sure you have mentioned in the email or communication section of the terms and conditions of your e-commerce website that the customers may receive promotional or abandoned cart emails from the brand.
What is the best time delay for an abandoned cart email?
It depends on multiple factors, such as time zone, genre, demographics, etc. For instance, if a customer is shopping at 3 a.m. and abandons the cart, you might not want to send out that abandoned cart email at 4 a.m. because he might have gone to bed.
Therefore, you can always test out different time delays so that you can decide what works best for you. Give it at least 10 to 12 hours before you send out the first email.
Other Interesting Reads
How to Create an Email Marketing Strategy to Grow Your Business
Getting Started with Meta Pixel: The Key to Successful Retargeting